
An introduction to the Microshare™ API

SUMMARY :
1. Introduction
You will use the Microshare API to set up your interactions with the Microshare platform through requests. The API is the destination of your devices’ data and is the main form of communication with the Microshare platform. This guide will walk you through setting up the Postman software to interact with the API and start operating with the Microshare platform.
<!> Be careful, Microshare gives access to two of its environments (Dev and Production) be sure to use the right environments for all steps according to your needs. <!>
If you are not sure which environment you should use, this part of the “Create an account” page explains why you should use Dev or Production.
2. Get an API key
First and foremost, you will need to request an API key for authentication with the services. Afterword, you can then use the Microshare Share API to read data from, as well as write data to the platform.
- Log into your
Production : Microshare account. Dev : Microshare account.
- Go to Manage -> Keys.
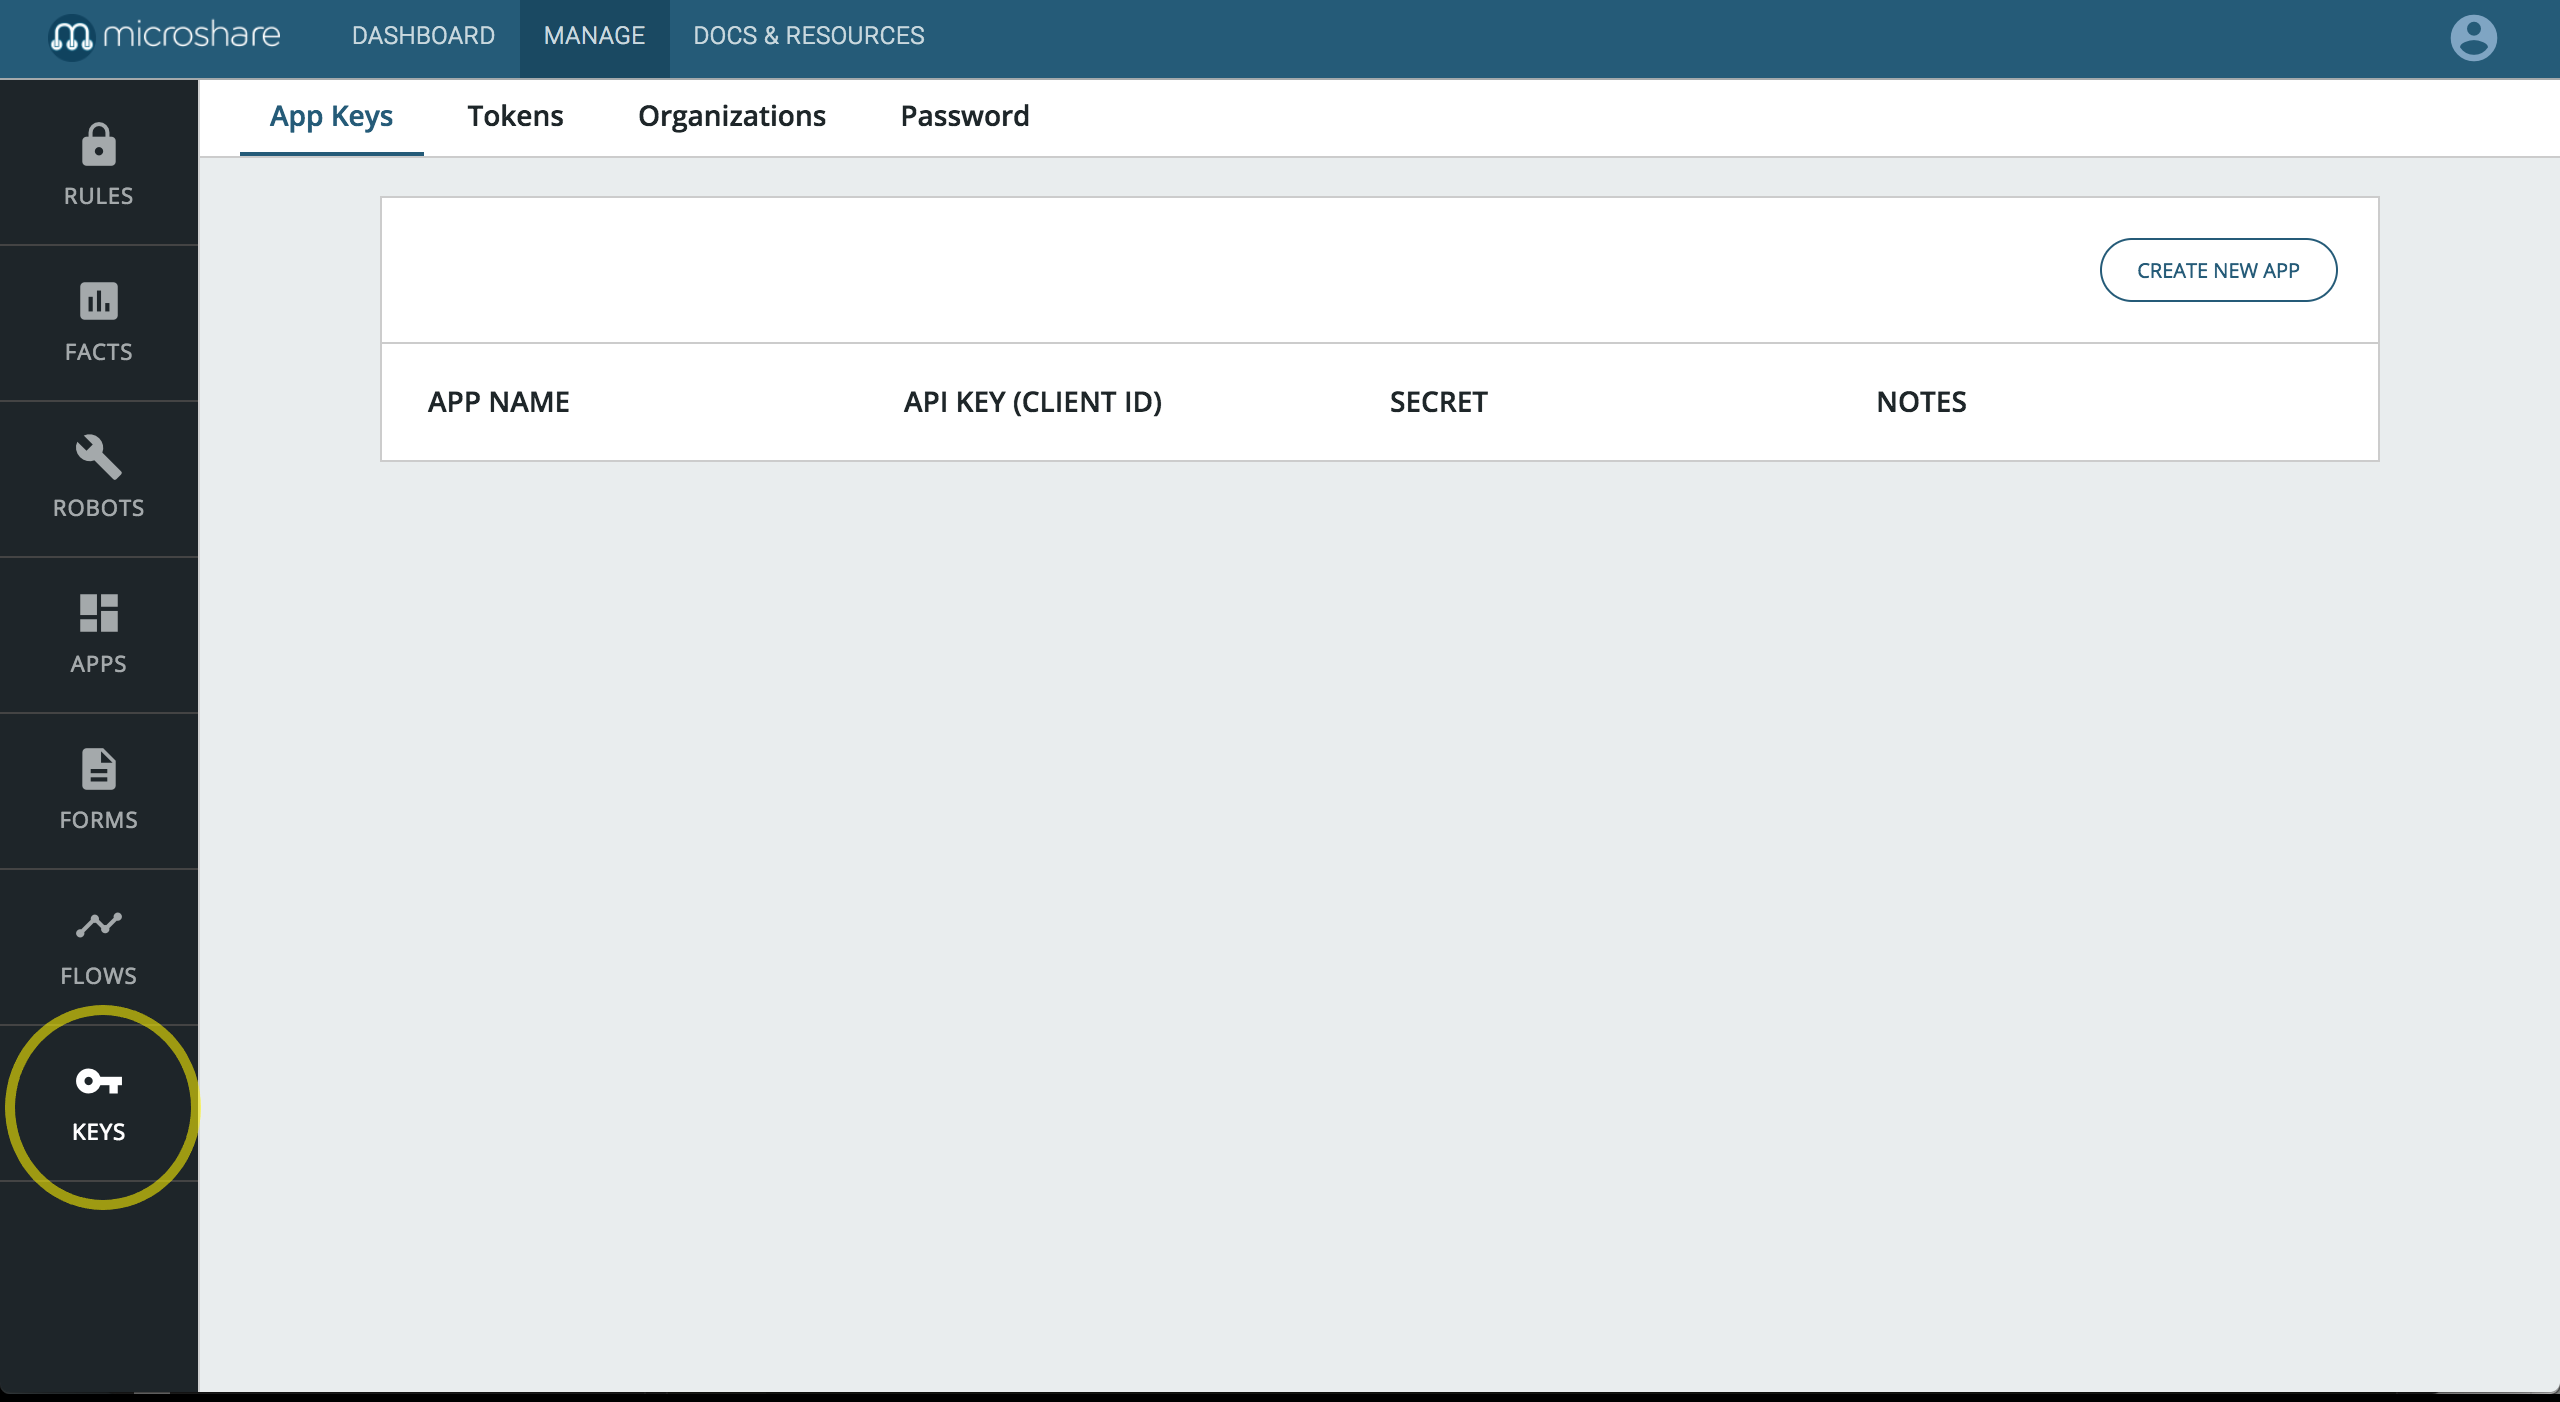
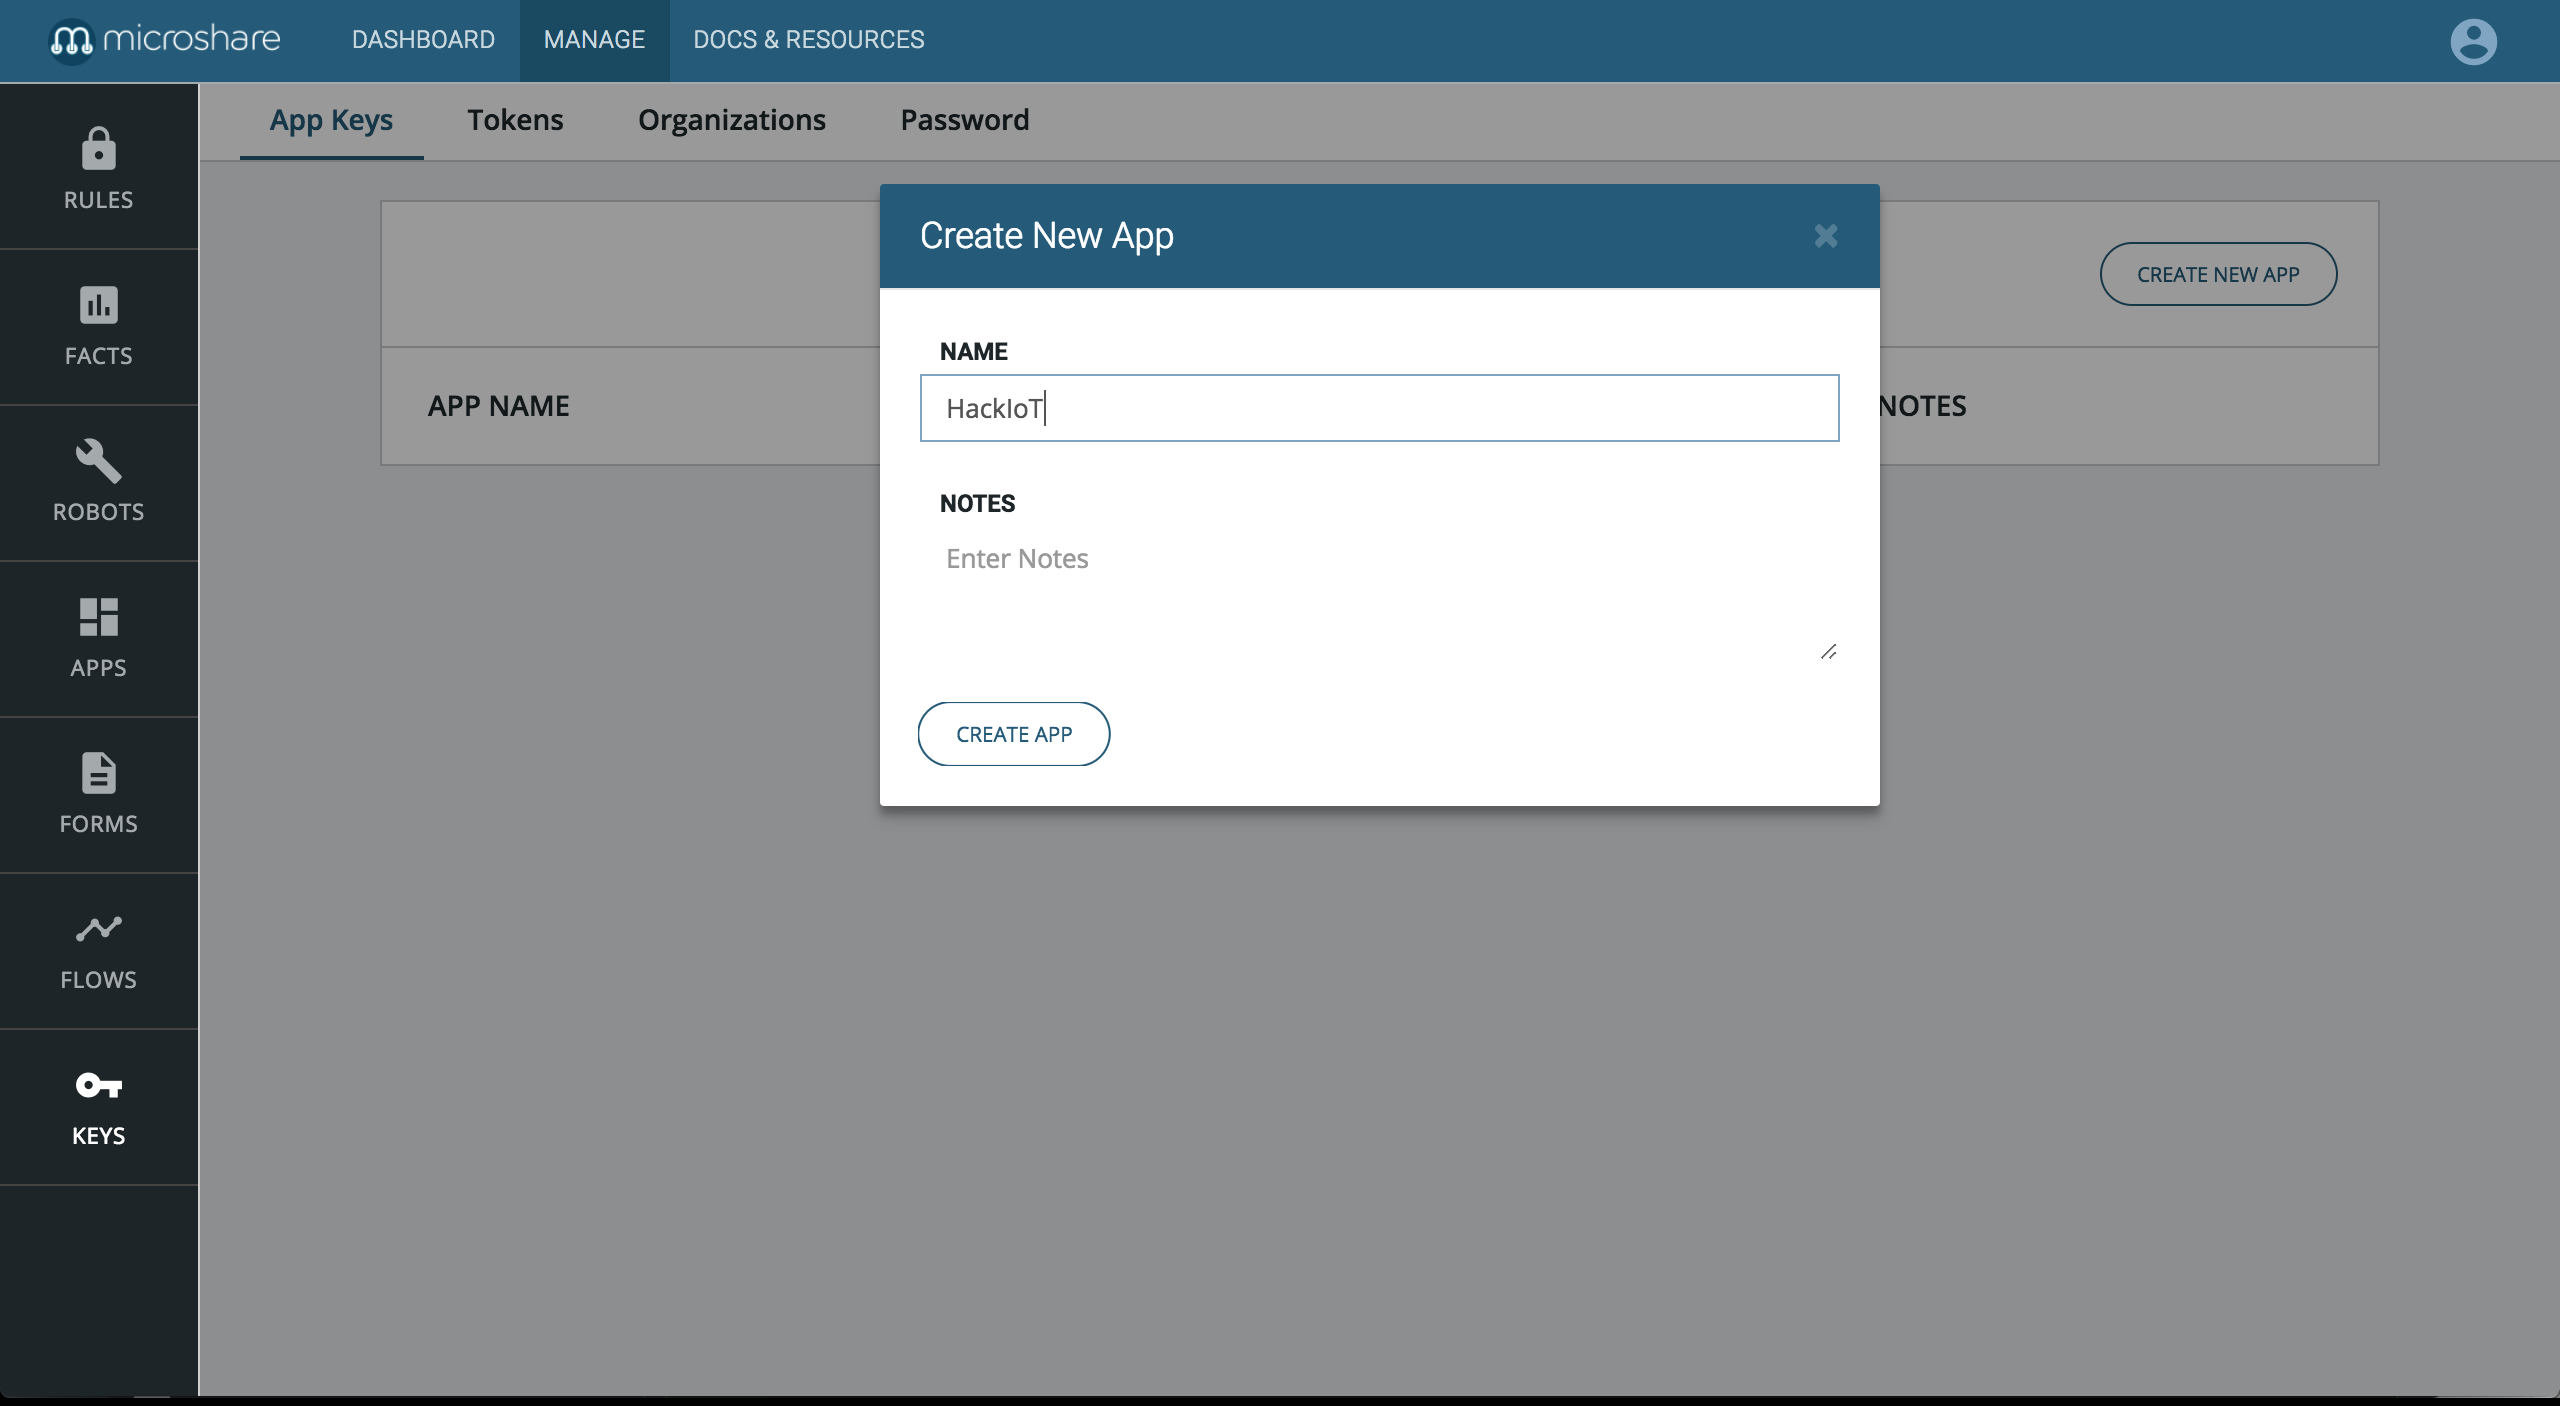
- Click CREATE NEW APP and give a friendly name to your APIkey (why not “My first IoT App”?).

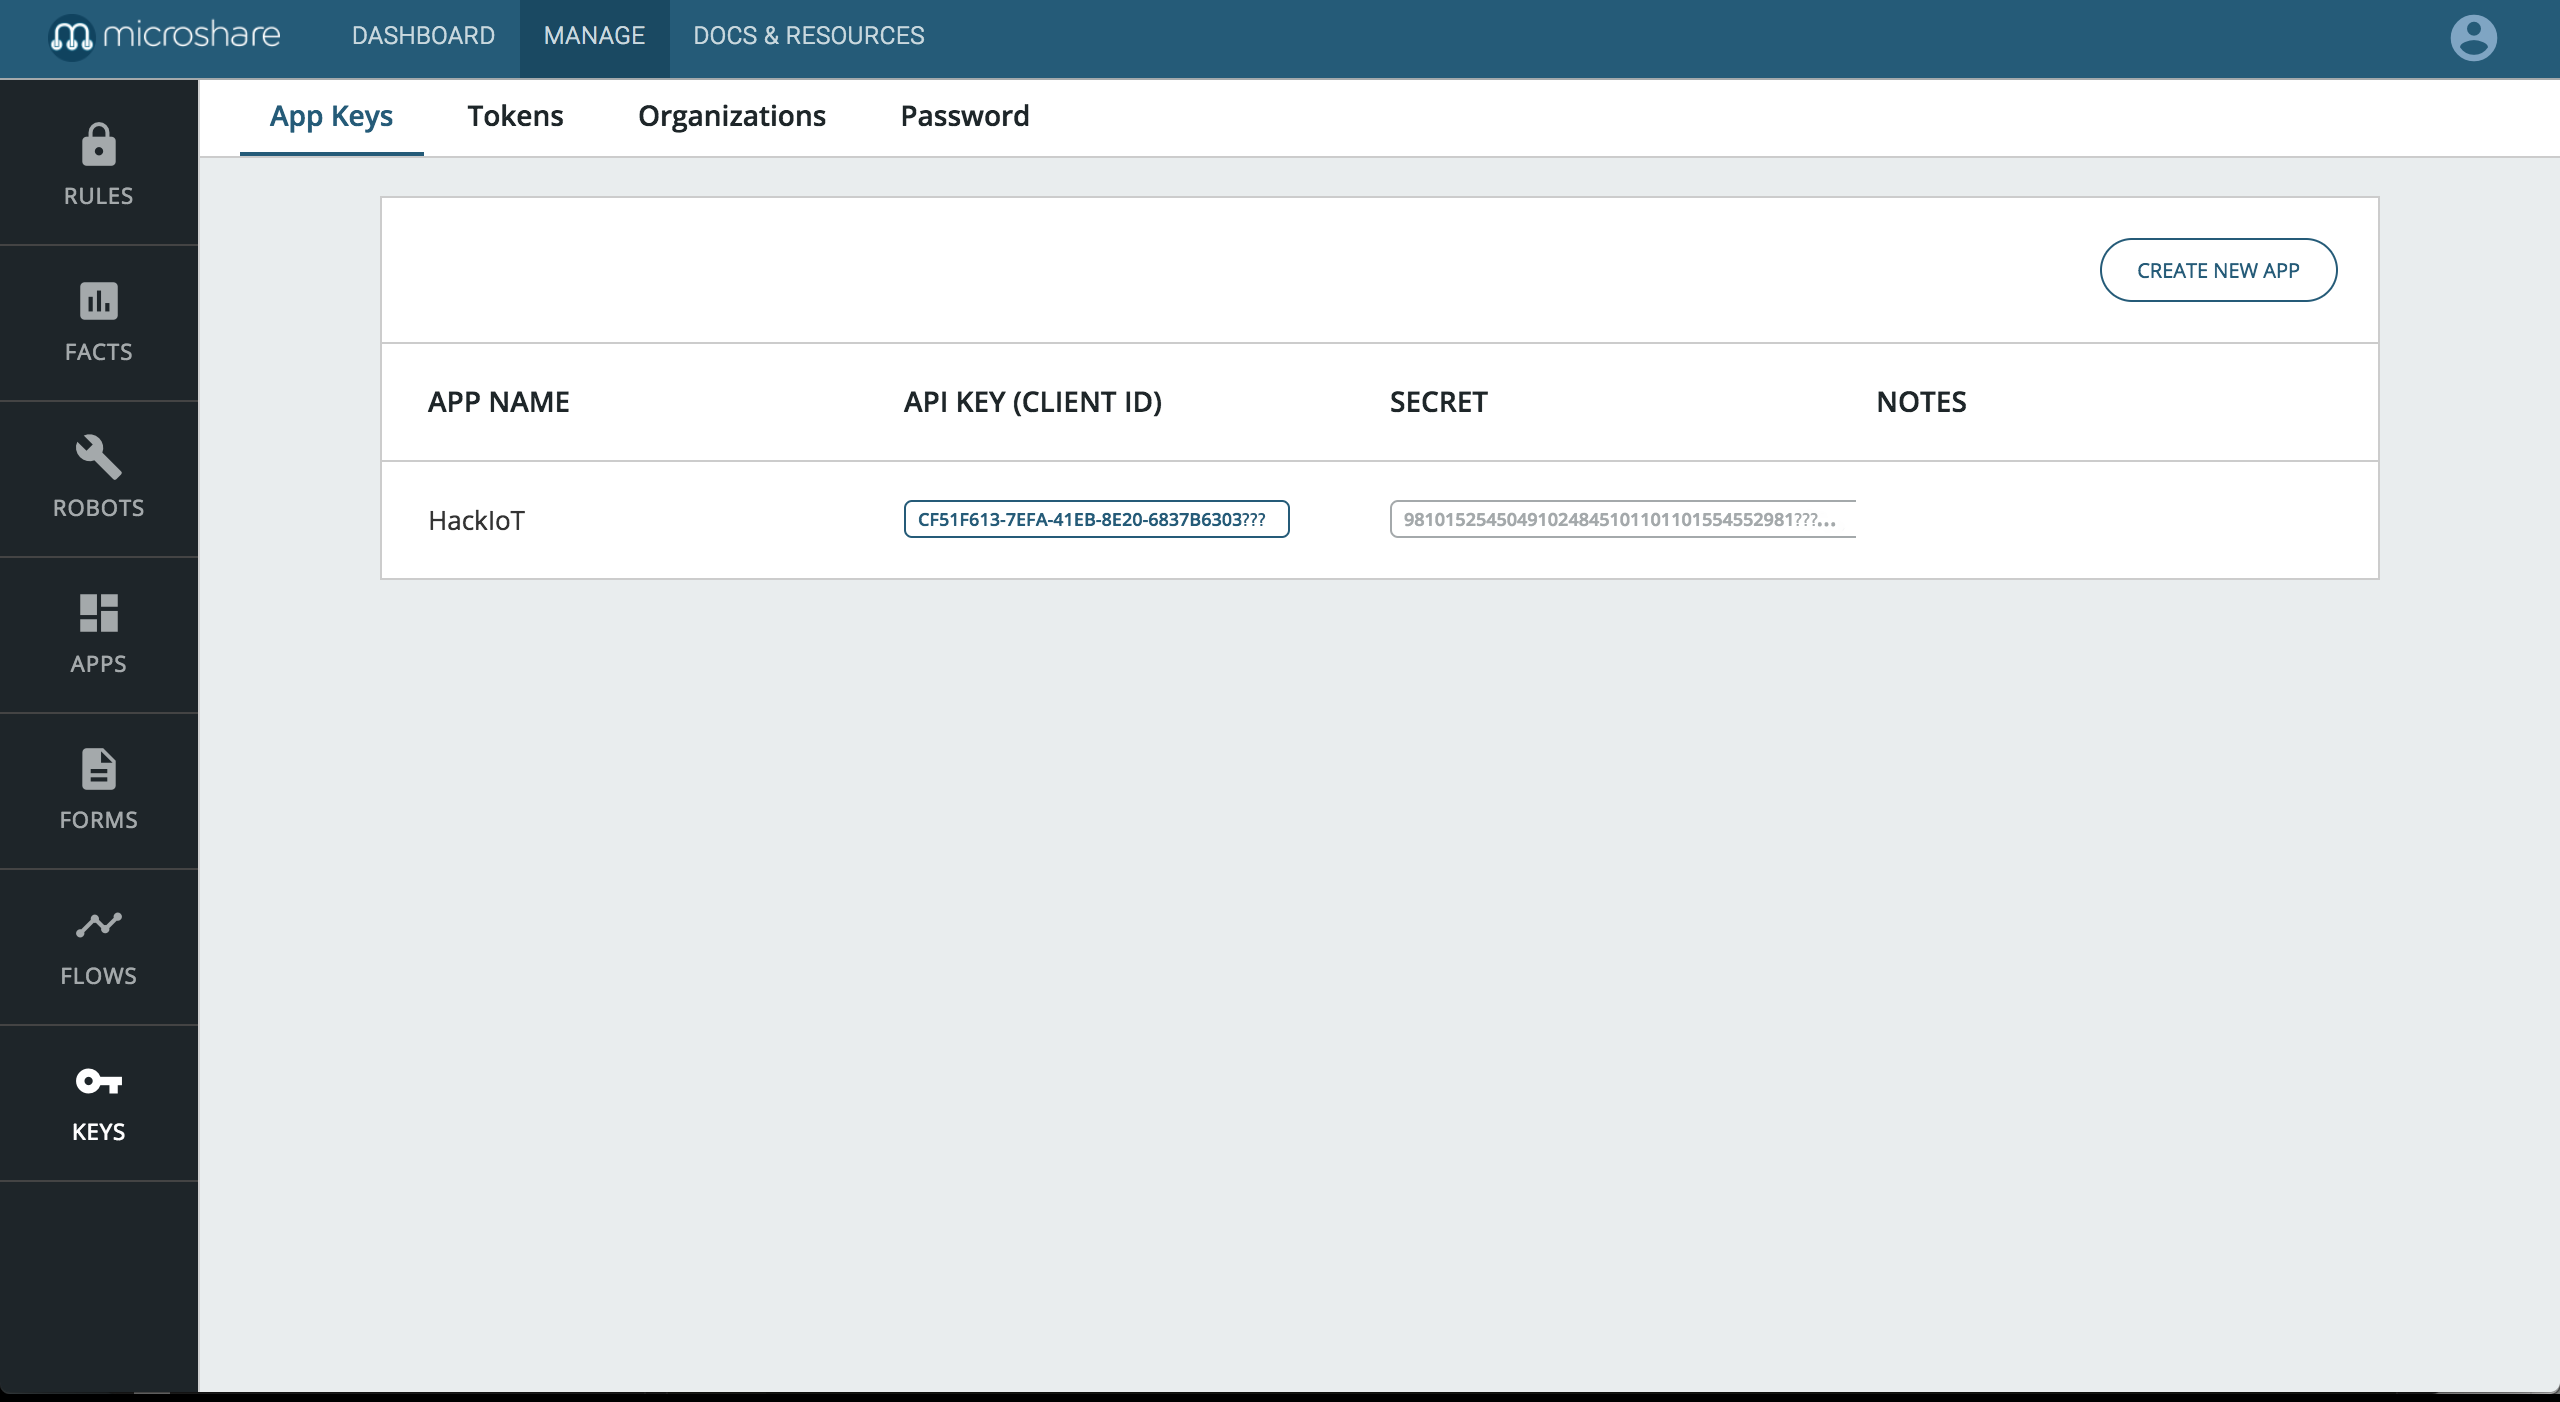
- Once the key is created, copy it somewhere handy, you will need it to execute Microshare API calls.
3. Setup Postman
A. Microshare Environment
In the following tutorials about the API, the environment might not be the one you should use depending on your needs.
Indeed you can use the Development or Production Environment
If you are not sure which environment you should use, this part of the “Create an account” page explains why you should use Dev or Production.
We will show you how to set up an environment in the next part, however we need you to understand what’s the difference between both environment.
If you are on Production
The environment on Postman should be like this :
-
authHostname : https://auth.microshare.io
-
hostname : https://api.microshare.io
If you are on Dev
The environment on Postman should be like this :
-
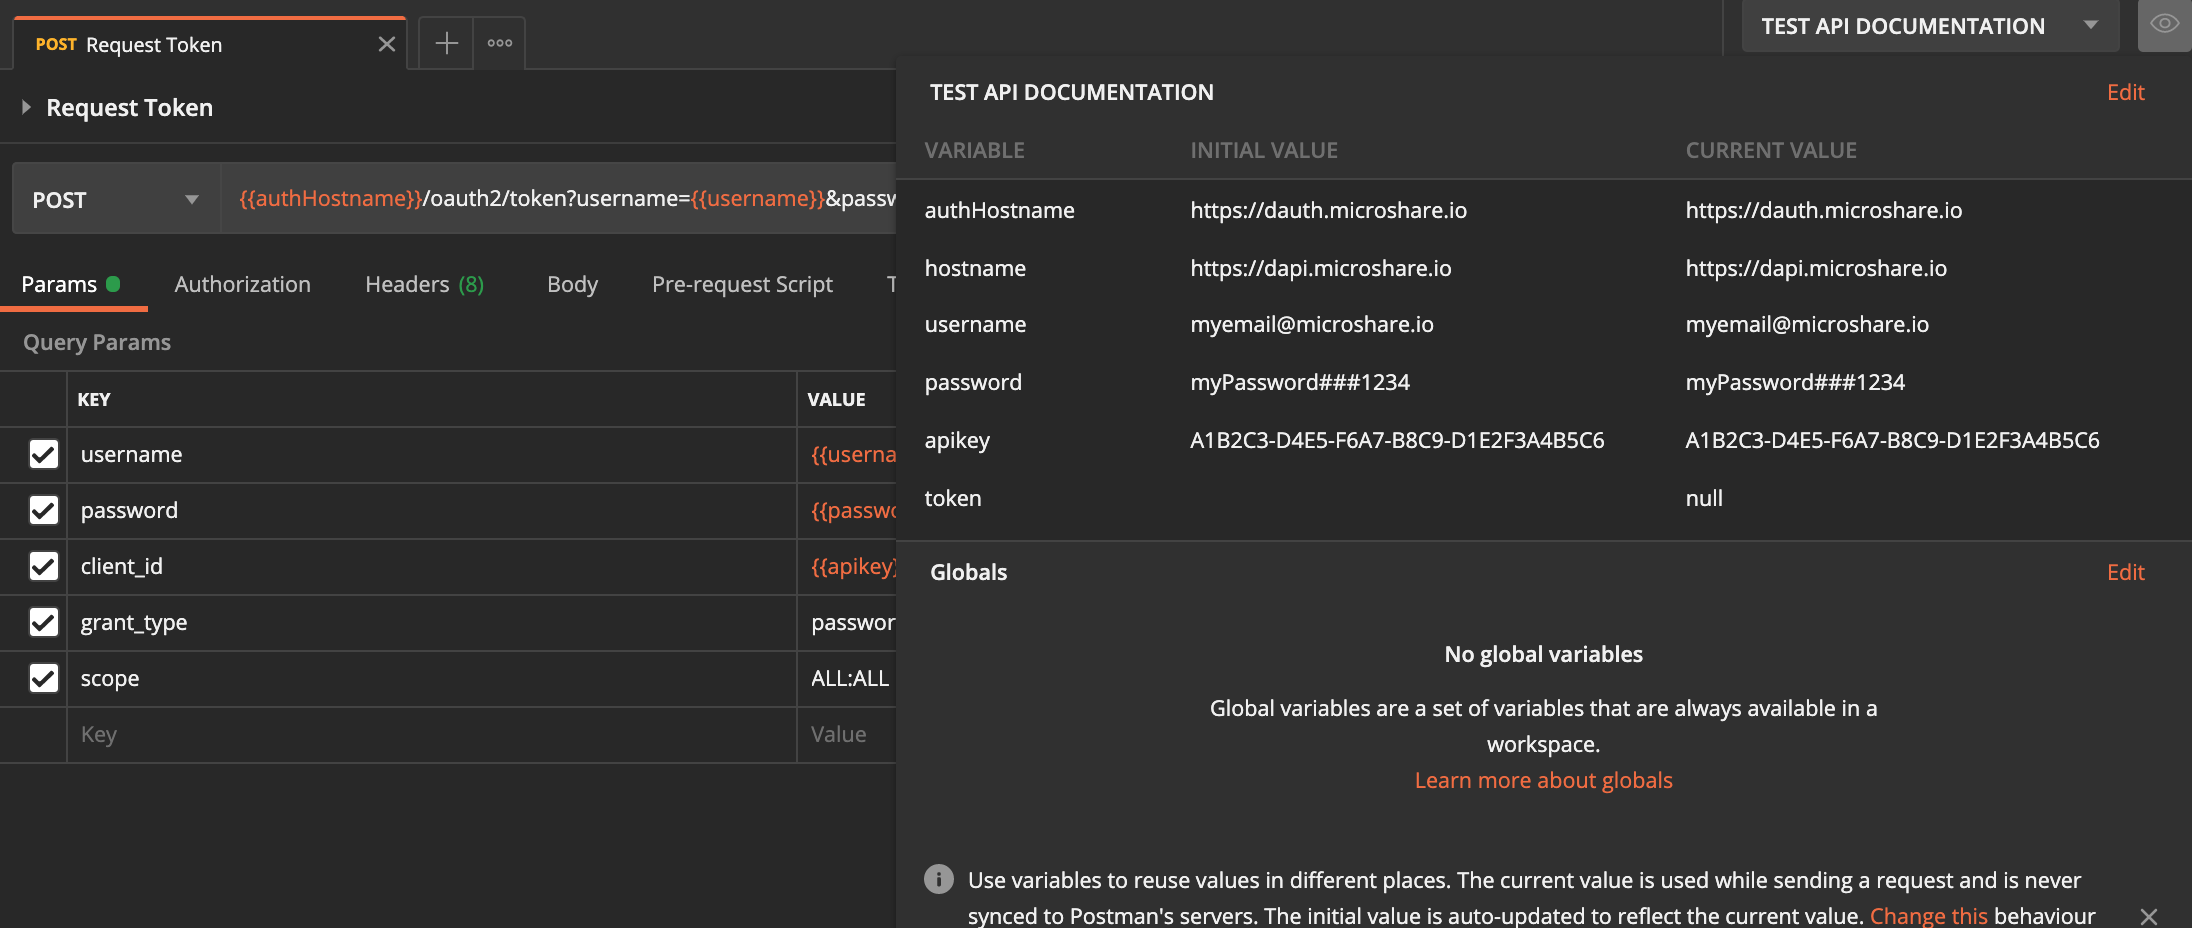
authHostname : https://dauth.microshare.io
-
hostname : https://dapi.microshare.io
B. Setup
This step is optional if you already have another way of invoking the API. In which case, visit Microshare API doc for a list of API call and move to the next section.
Otherwise, you can setup the API manager with Postman on your computer for a quick start access to Microshare API collection.
1. Visit our API documentation page (preferable in another tab so that you may have both references open).

2. Click on the Run in Postman button to install Postman on you computer and automatically load in our Postman API collection and environment.
If that fails, go to the Postman website to install Postman manually, then download and import the collection and environment from our API documentation page.
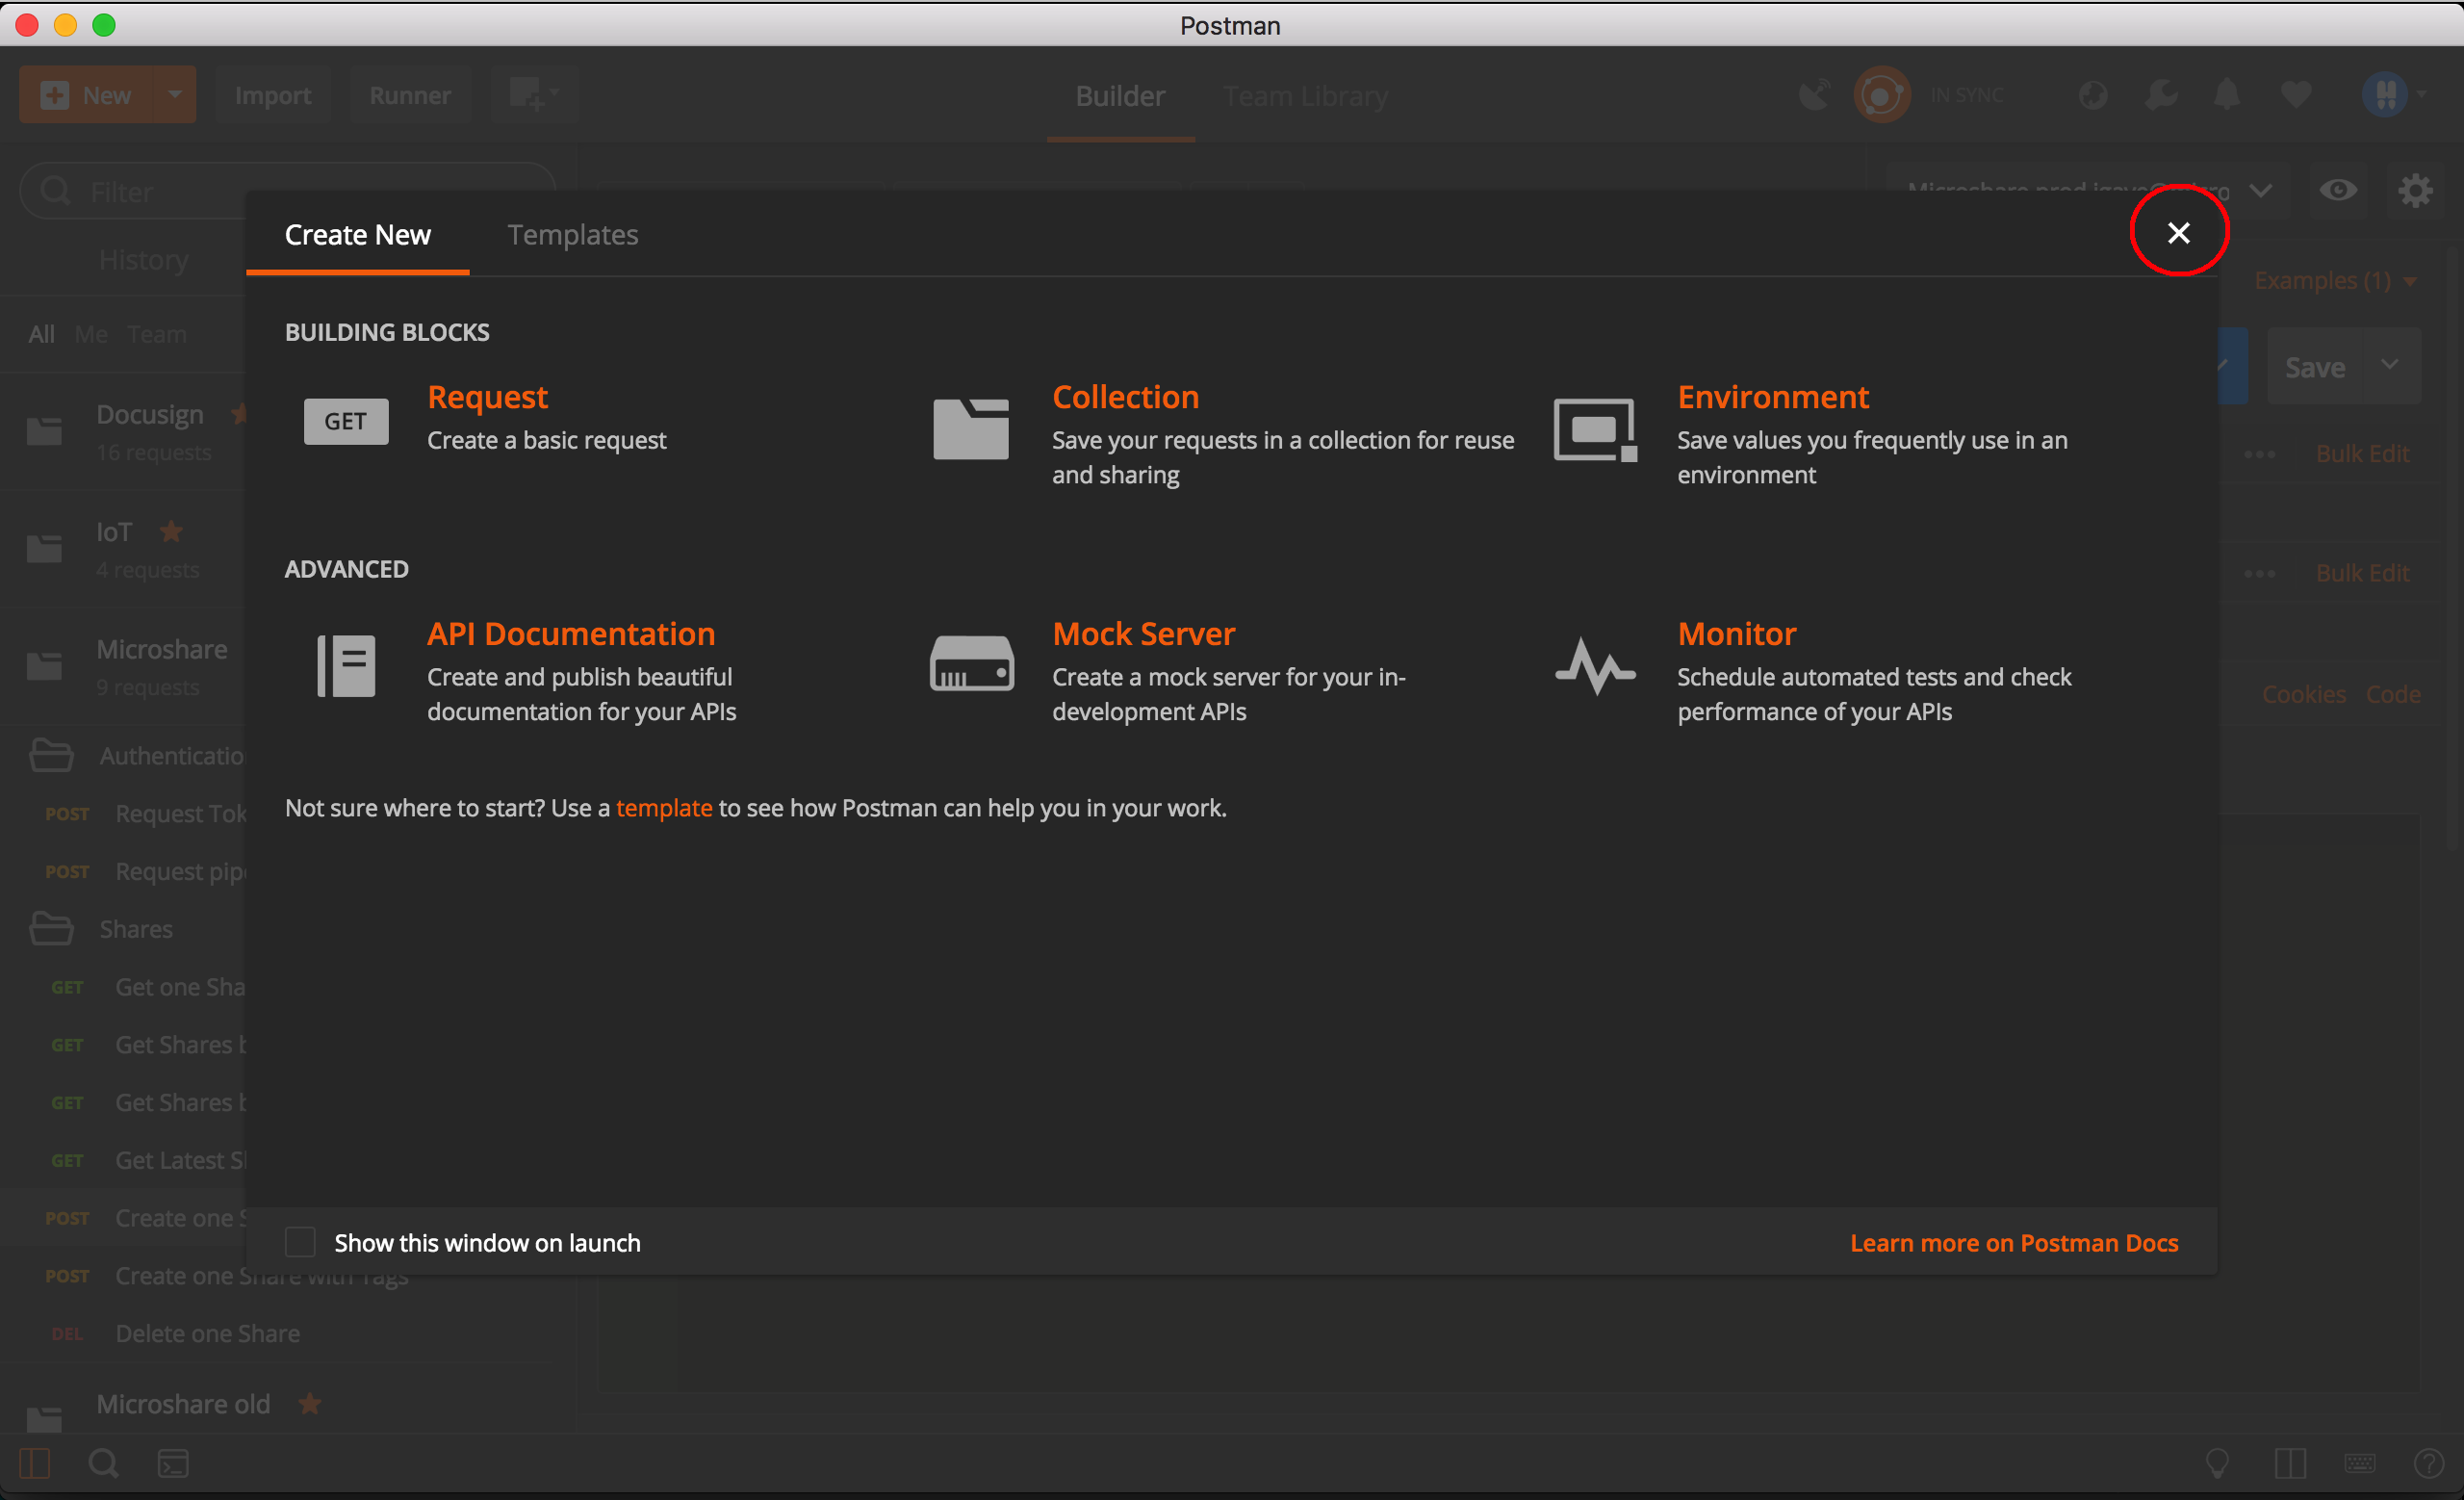
3. Open Postman on your computer. It will prompt you with a Create New modal, just close it.
4.To see the Microshare Postman collection, click on Collections on the left hand pane.
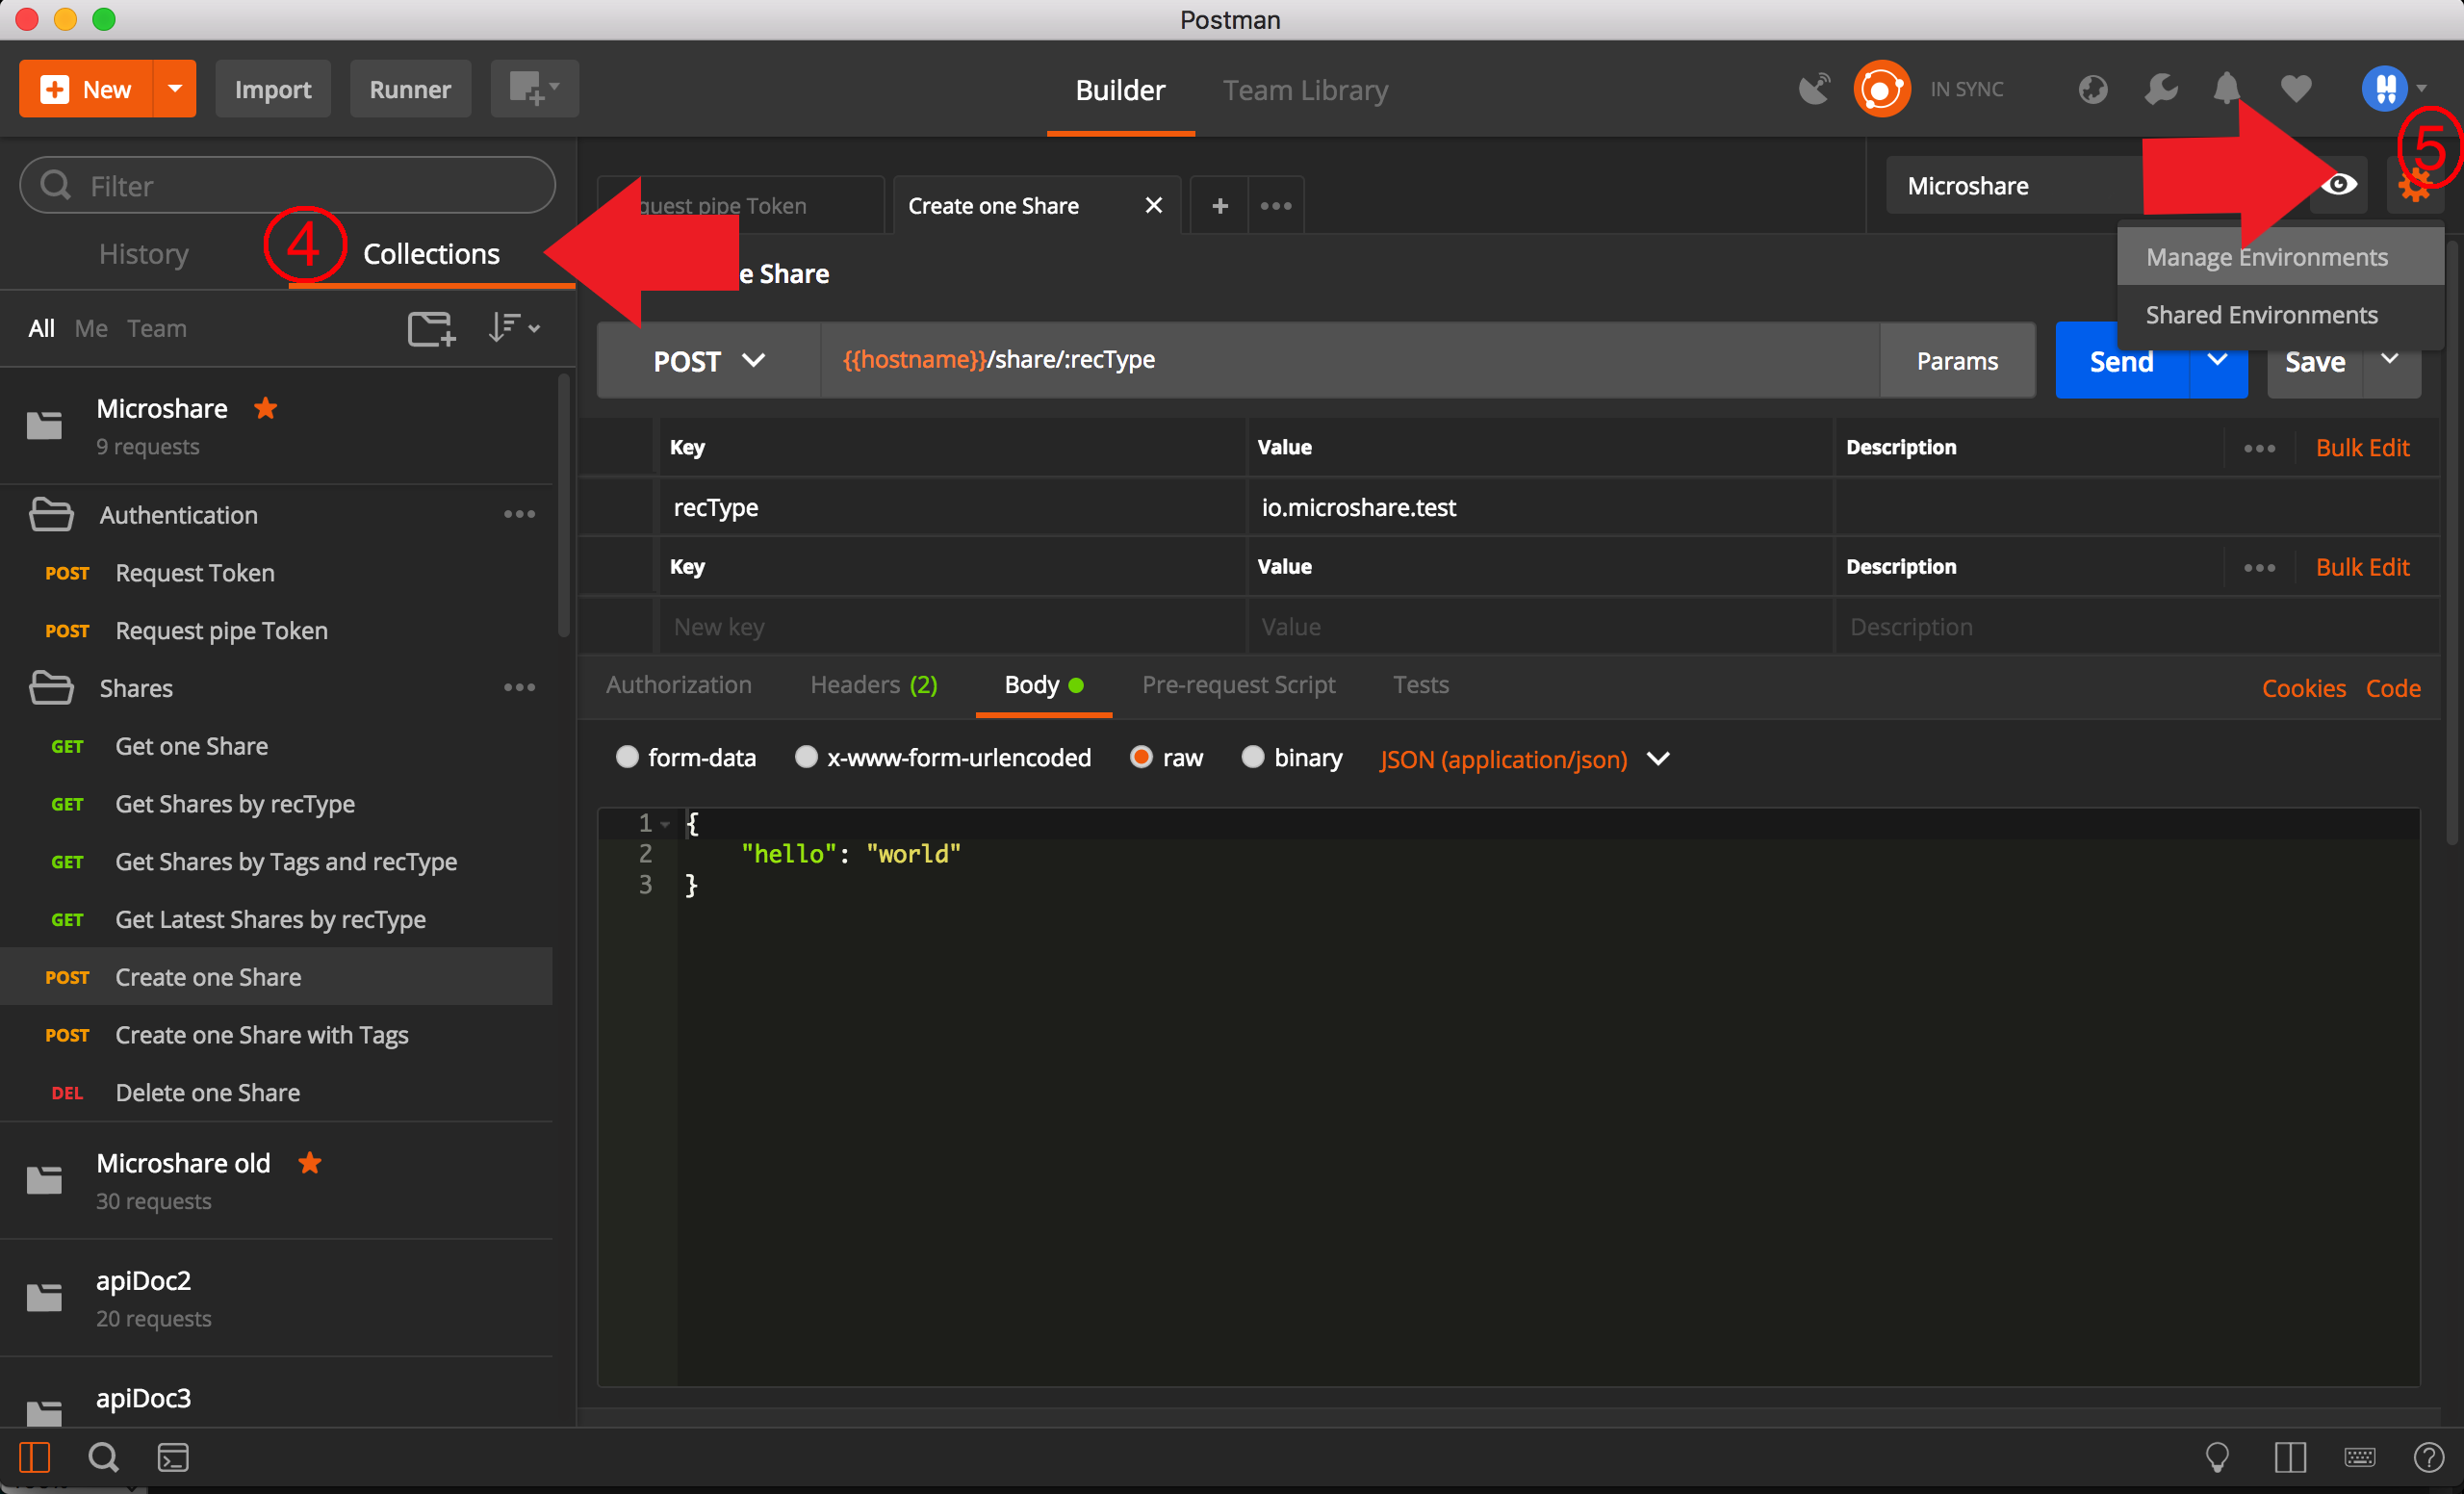
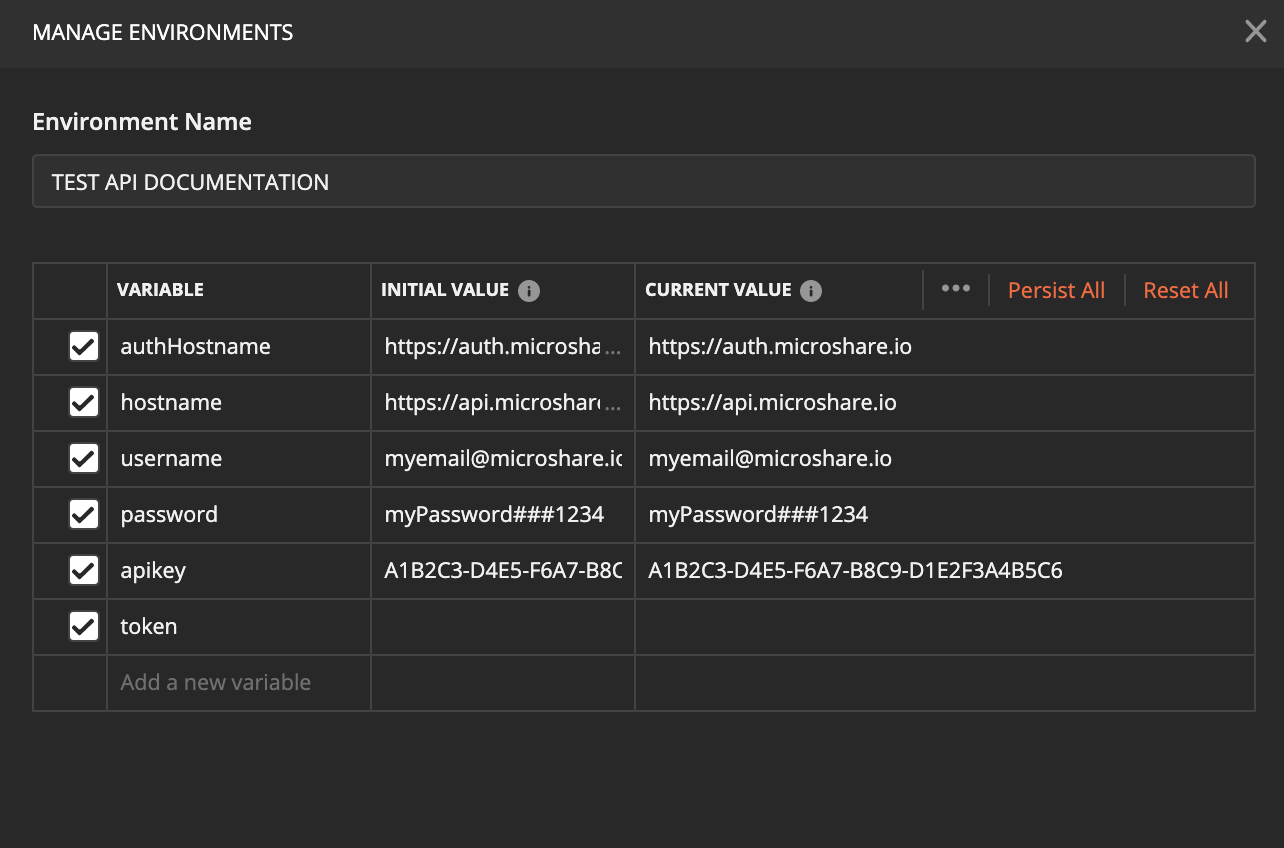
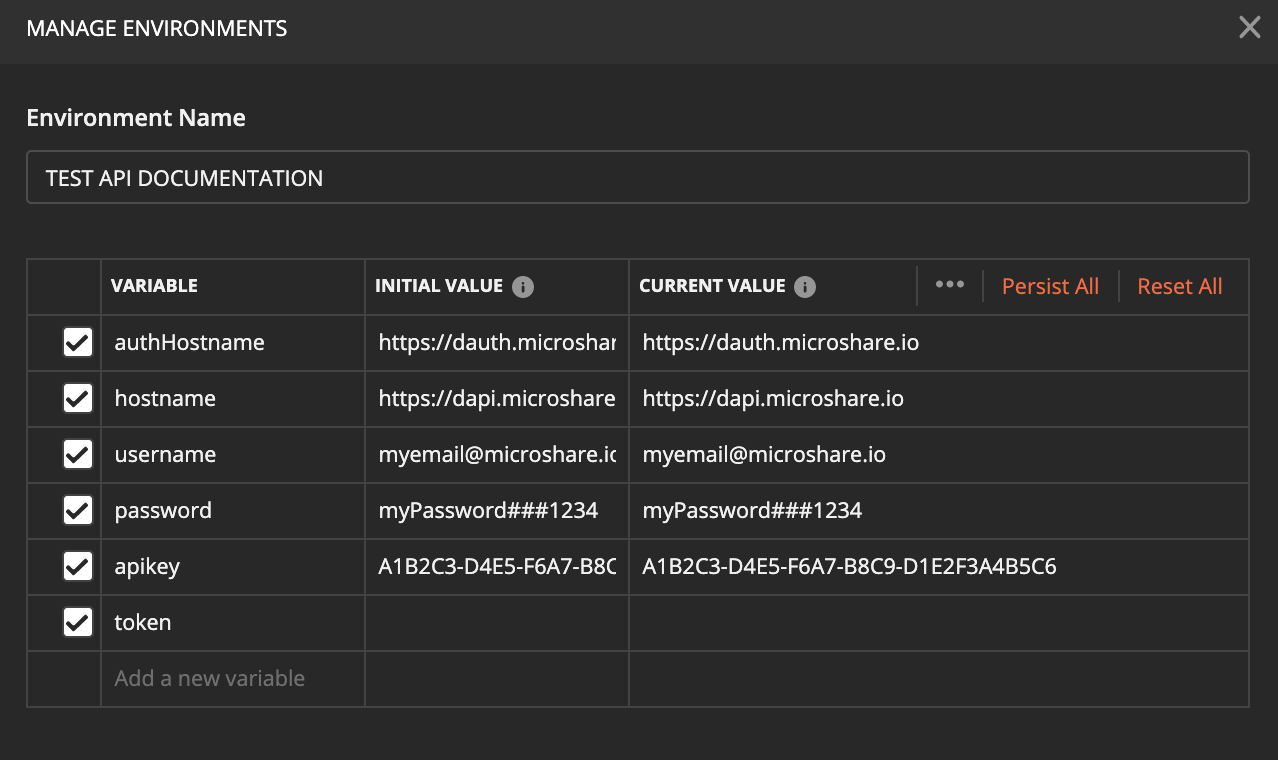
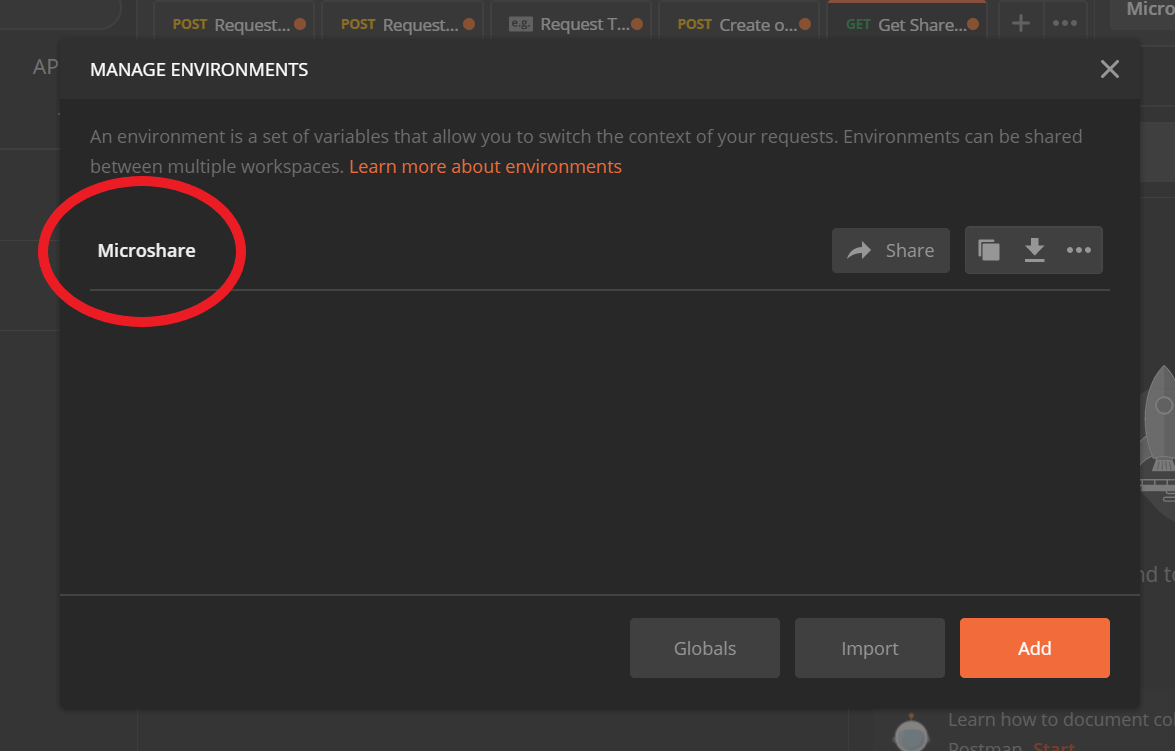
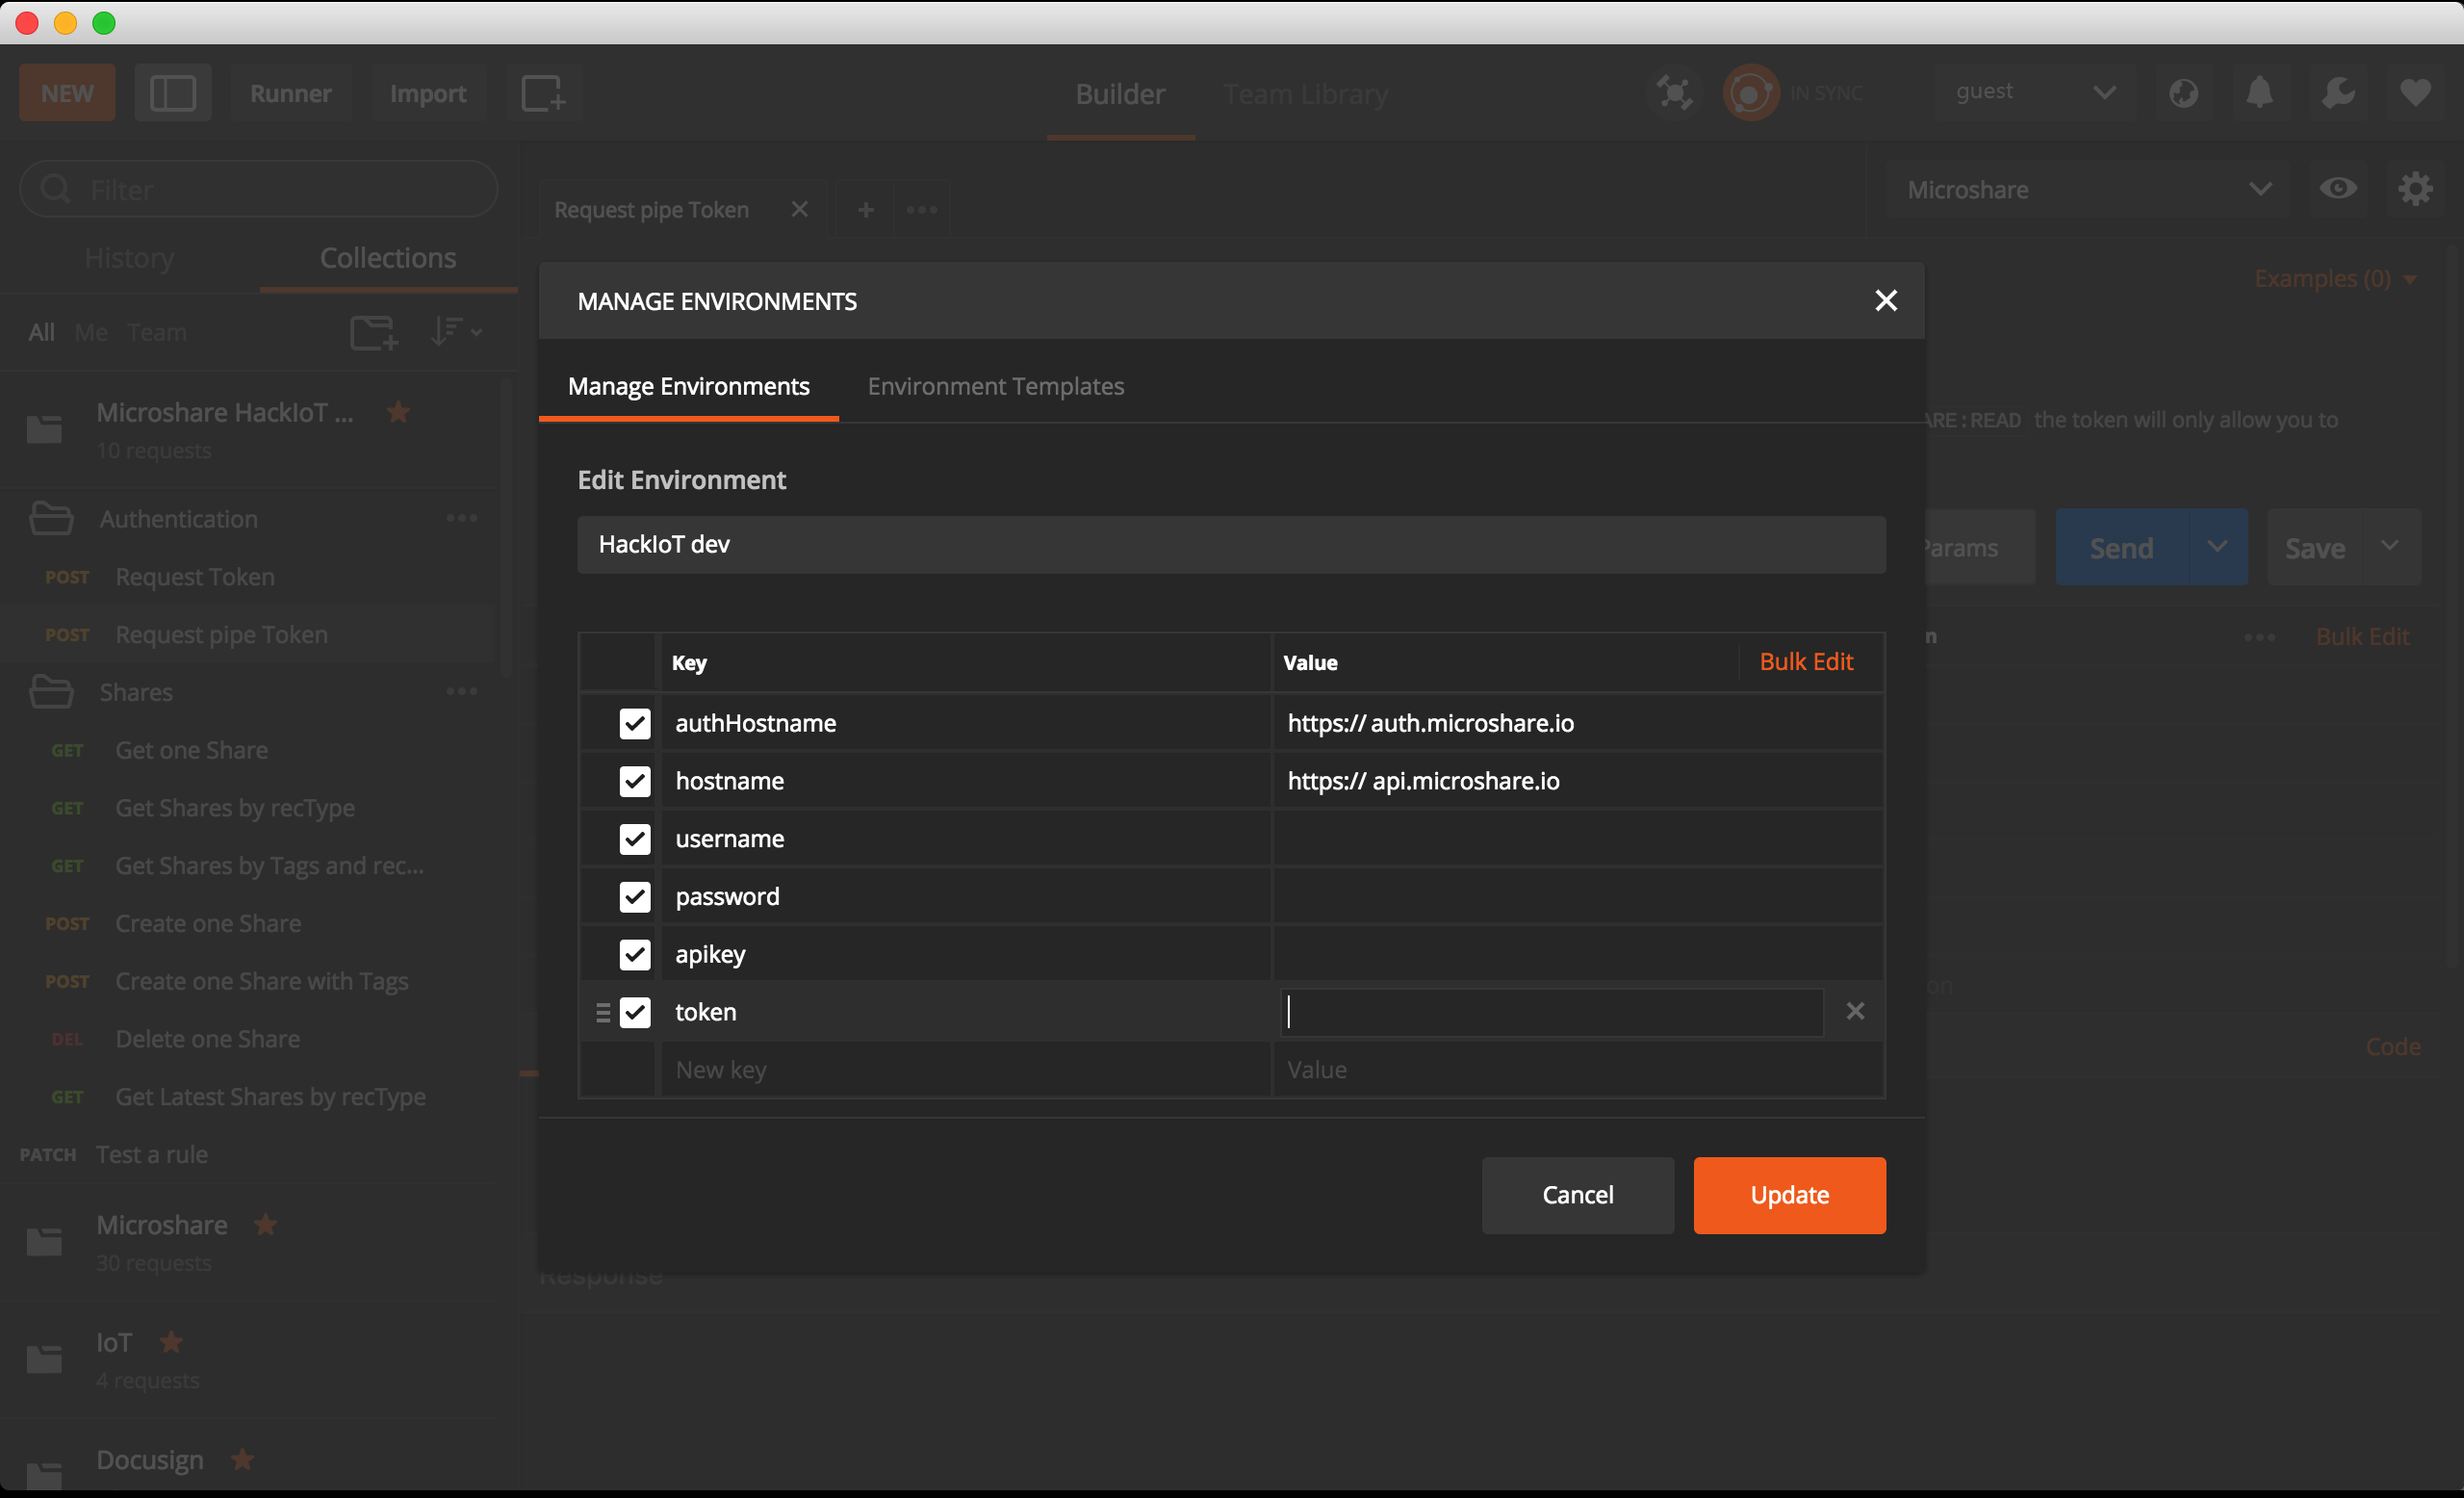
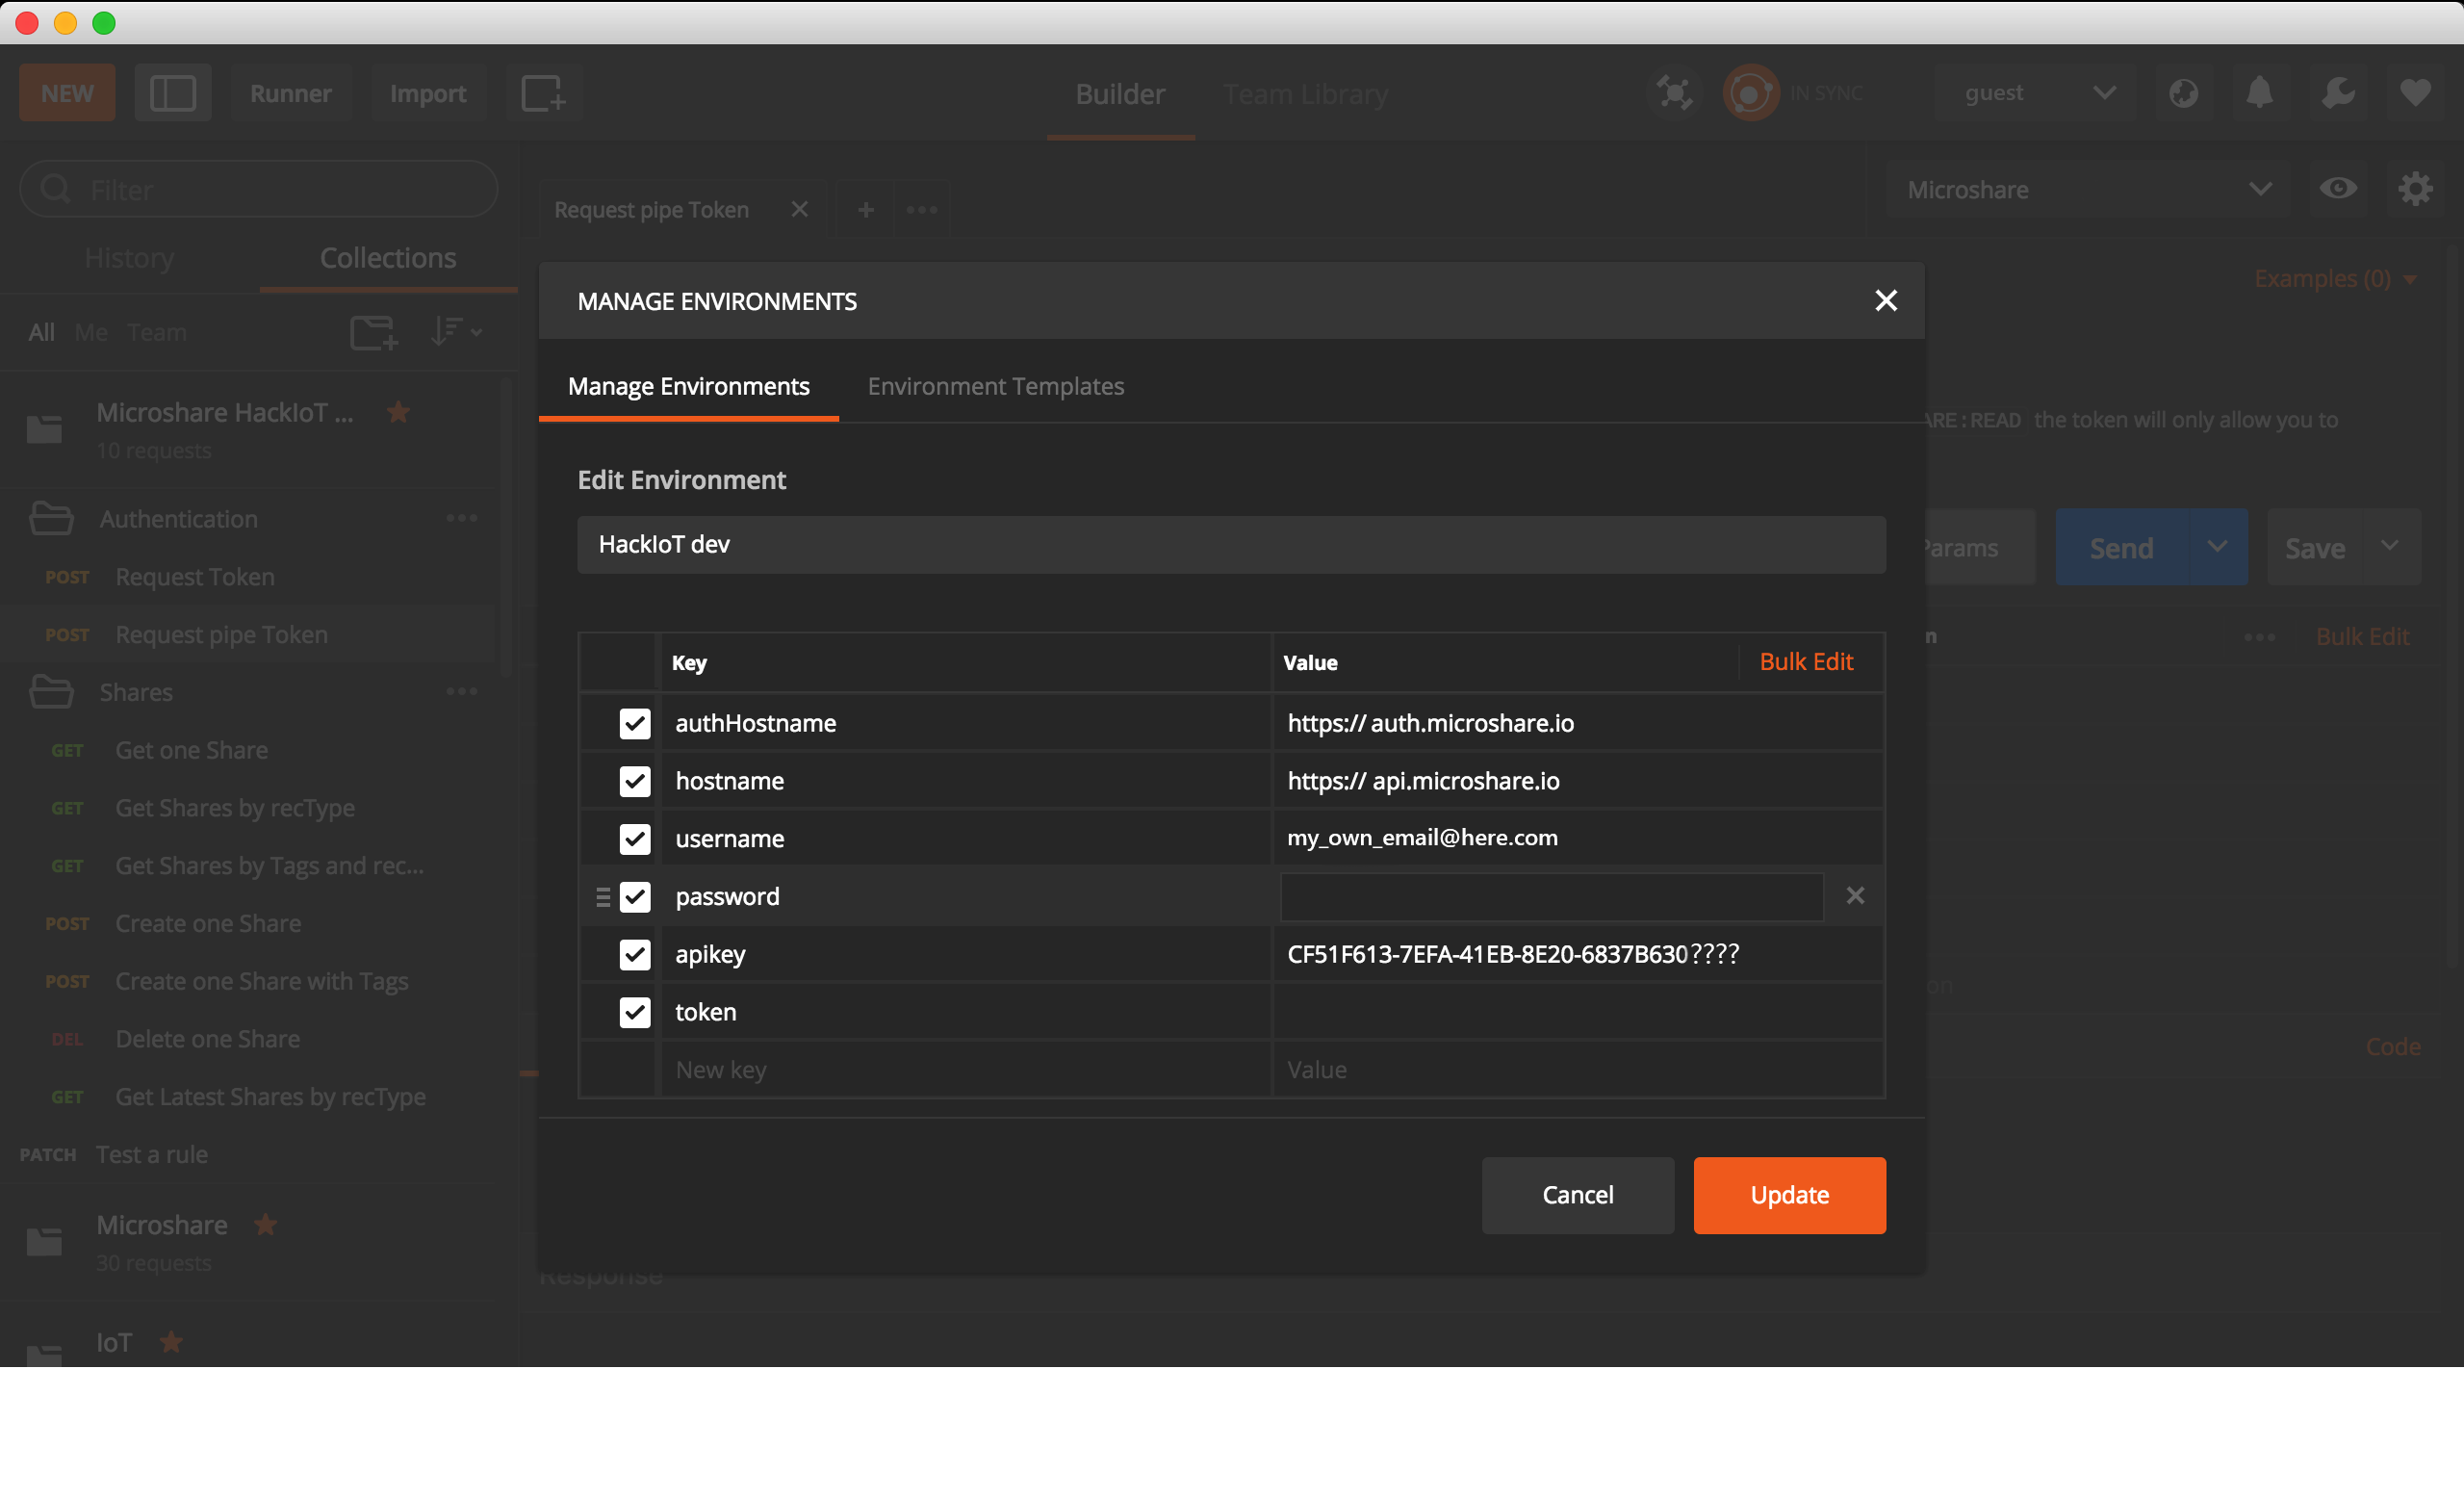
5. To configure your Microshare environment, select the cog icon situated at the top right of the screen.Then Manage Environments, then click on microshare.
6. In the environment configuration, paste your the API key in the apikey field, and enter your username and password in the corresponding fields.
C. Password in Postman
If your password contains simple characters, your token request should work correctly.
However, if your password contains any special characters (#,?,!,^,$,&,@ …) please follow this quick fix to prevent errors.
- On Postman Desktop
Simply right click on the “password” value on the url and then select “EncodeURIComponent”.
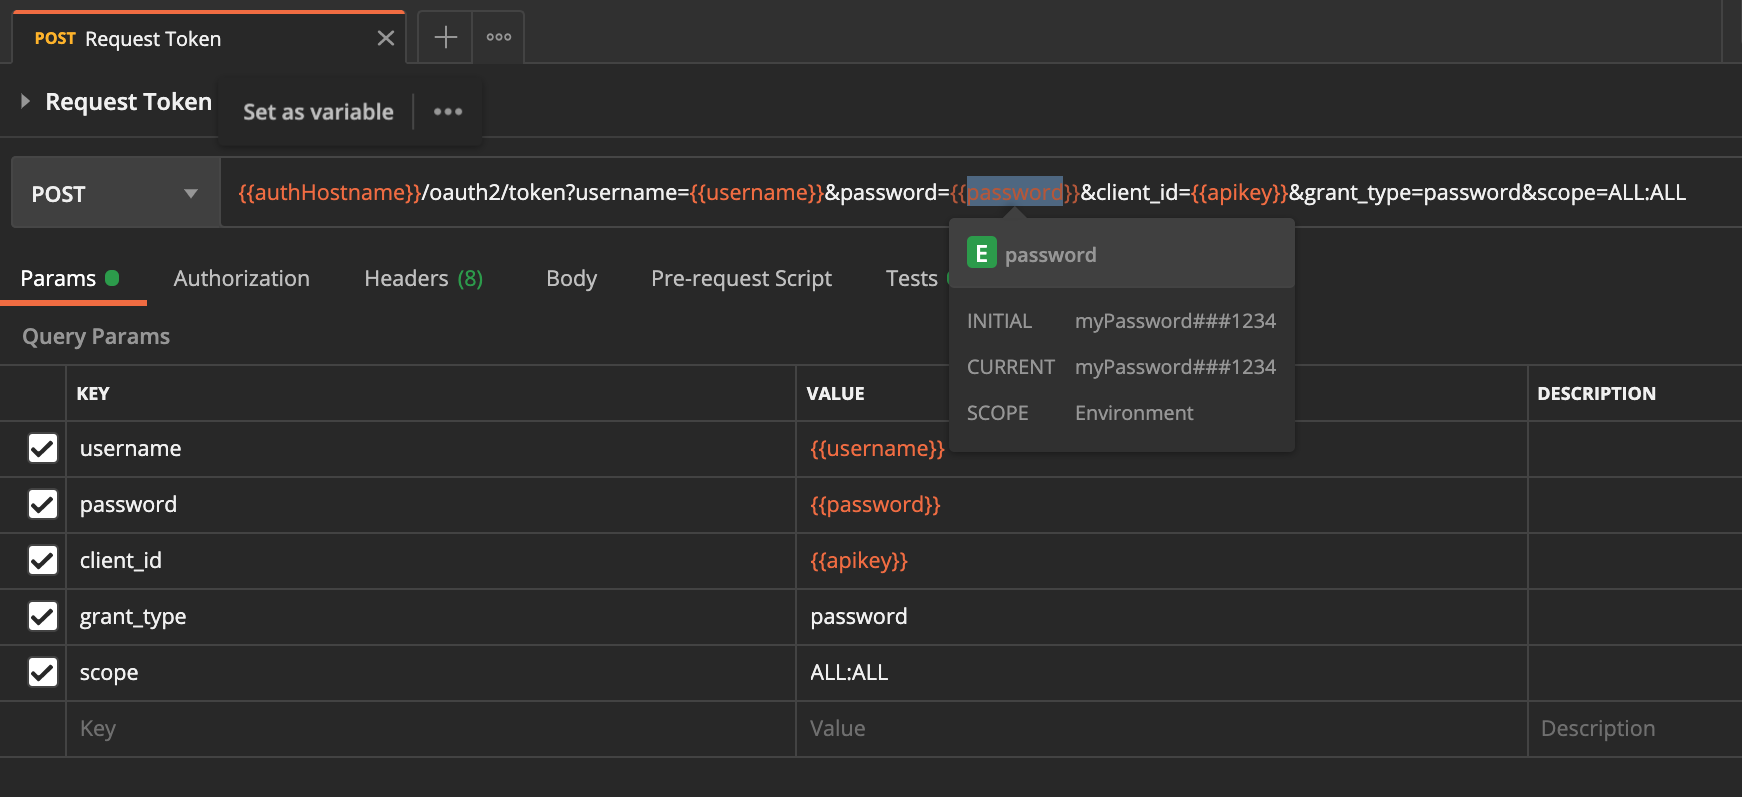
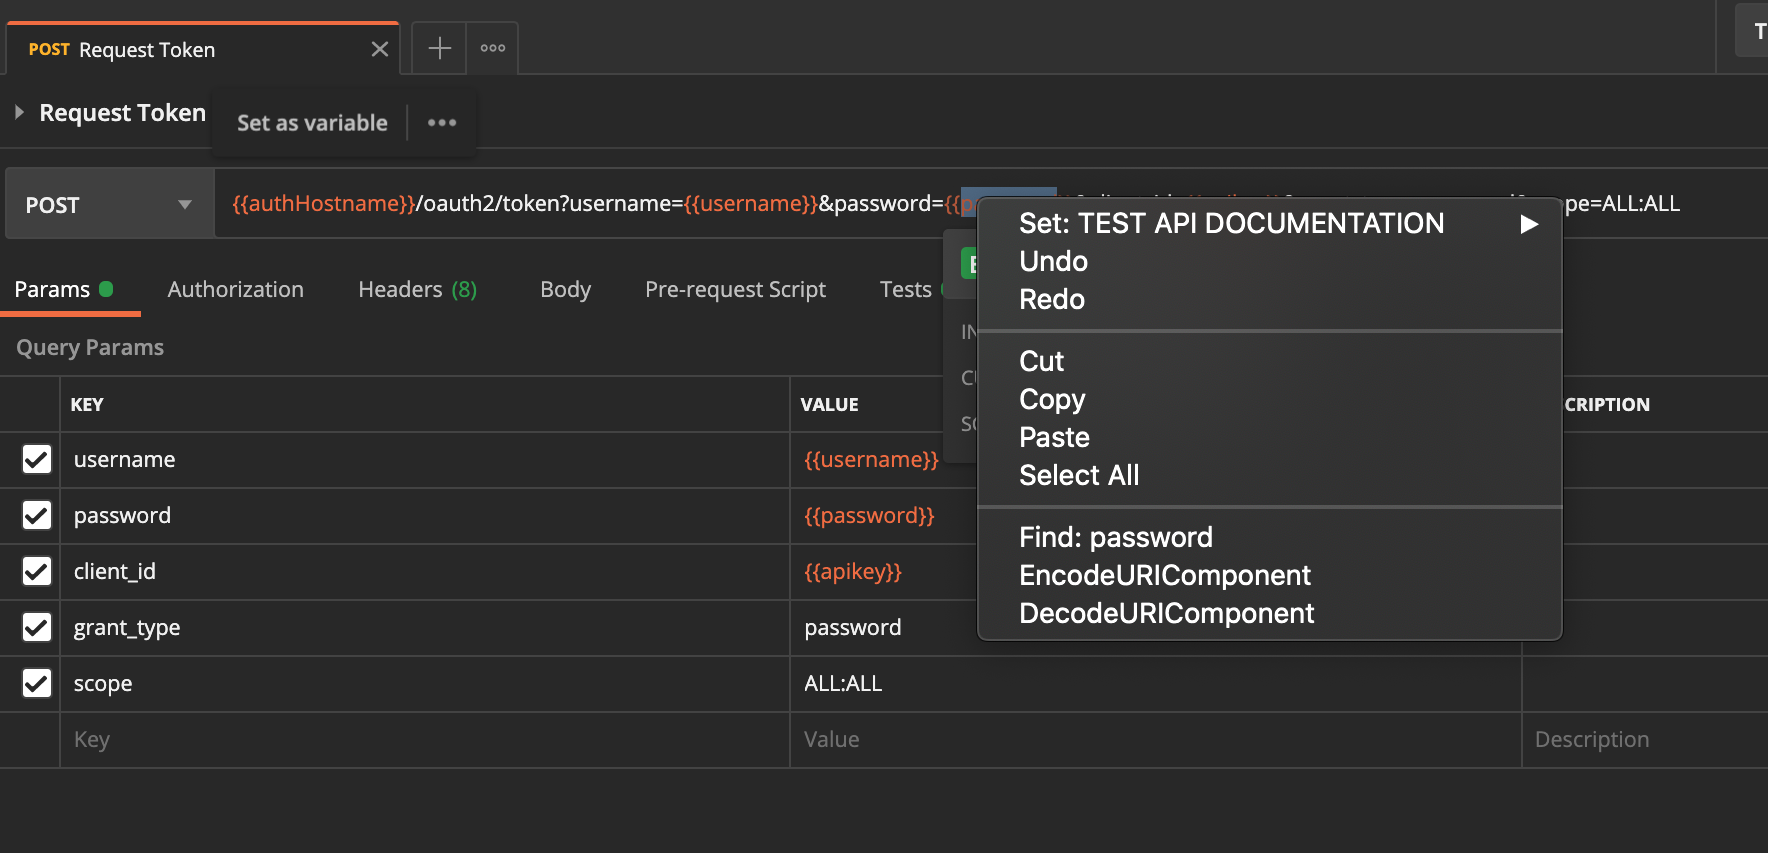
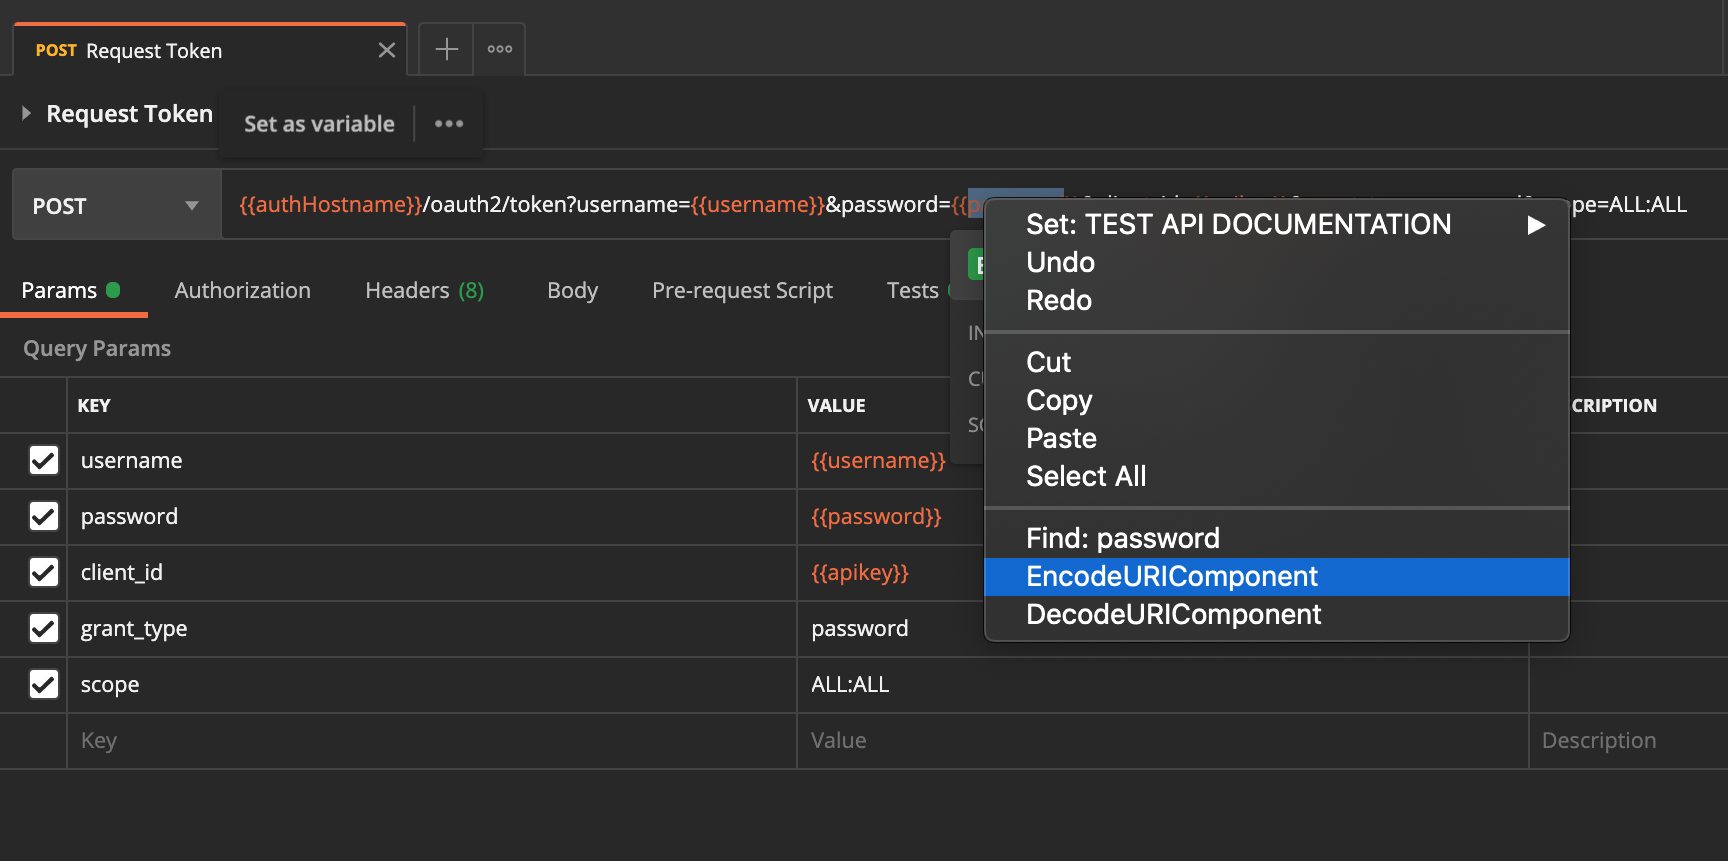
Then if you retry your request it should work.
- On Postman Web
Simply click on the “password” value on the url, then click on the three dots and finally select “EncodeURIComponent”.
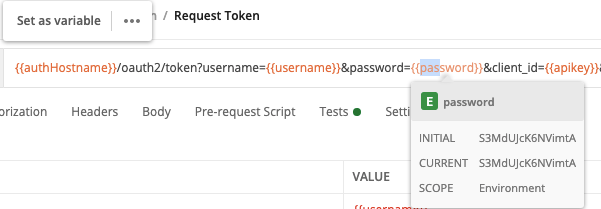
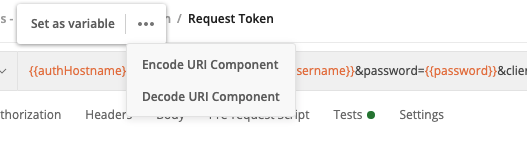
Then if you retry your request it should work.
That’s it! You now have access to the Microshare API collection, and are setup to authenticate, write data and read data with the platform.