
Pushing Data to the Microshare Smart Network using the Kerlink Wanesy Management Center
In this page we explain how to configure your Kerlink instance to work with Microshare for the contact tracing use case. But this works for all Microshare use cases.
Summary
- Create a new Customer
- Create a new Push Configuration for Microshare
- Create a new cluster (for Microshare Contact Tracing)
- Declare the (Wave) Devices
Instructions:
Prerequisite. Log into your WMC instance
Once you have your wearable devices and location markers installed within your facility, you are ready to begin pushing data to the Microshare Smart Network™.
In order to do this, you will first need to log in to your Kerlink Wanesy Management Center [WMC] interface with the login details given to you by Microshare.
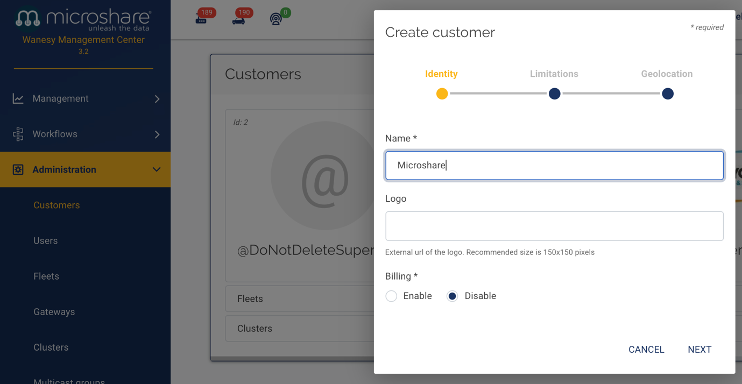
1. Create a new Customer
Create a new Customer “Microshare”: Administration > Customers> +
2. Create a new Push Configuration for Microshare
Create a new Push Configuration for Microshare: Administration > Clusters> Push Configurations
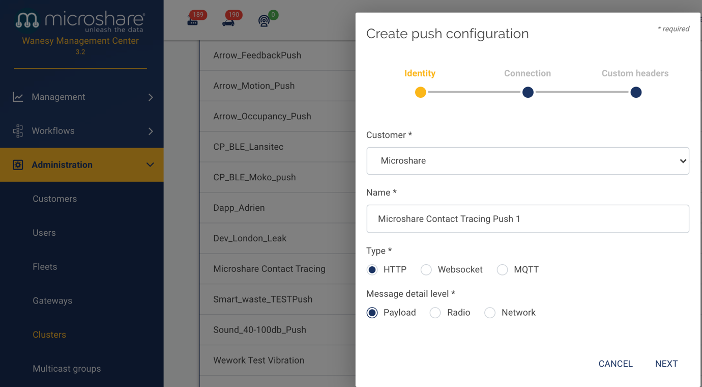
Customer: Microshare

Name: Microshare Contact Tracing Push Config1

Type: HTTP

Message detail level: Payload

- Click NEXT
Insert the Connection URL: Contact Fulfillment@microshare.io for the URL endpoint details and enter it on this screen
[e.g. https://api.microshare.io/share/io.microshare.contact.packed /token/1234567890]
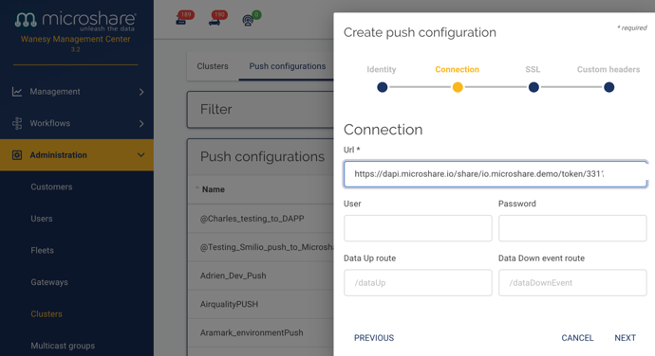
- Click NEXT
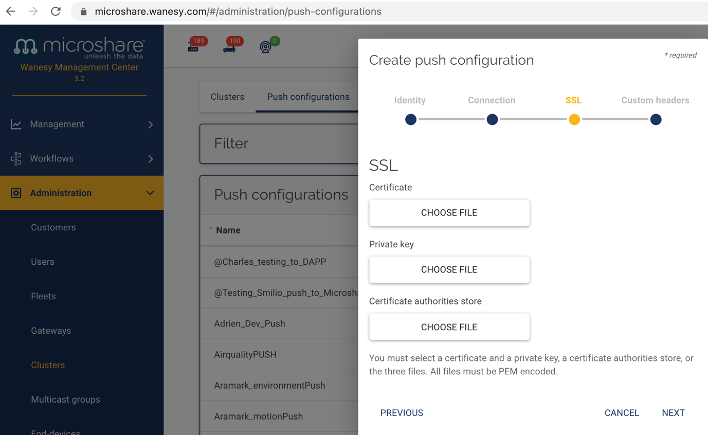
Simply click NEXT on the following screen, no changes needed: (SSL)
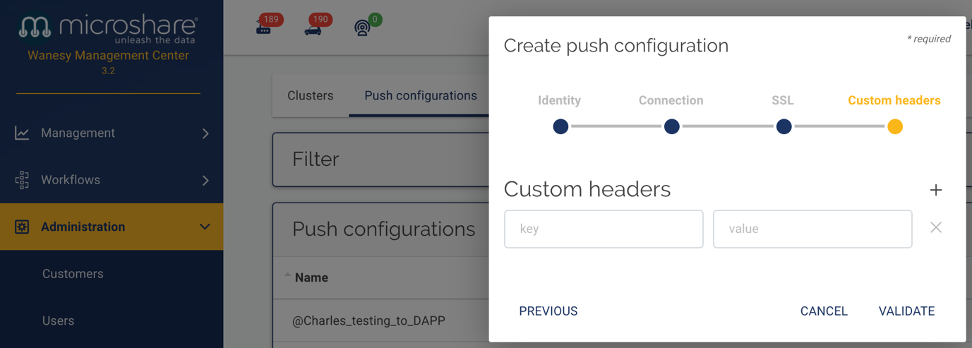
Click VALIDATE on the following screen, no changes needed: Custom Headers
3. Create a new cluster for Microshare Contact Tracing
Create a new cluster for Microshare Contact Tracing: Administration > Clusters > + 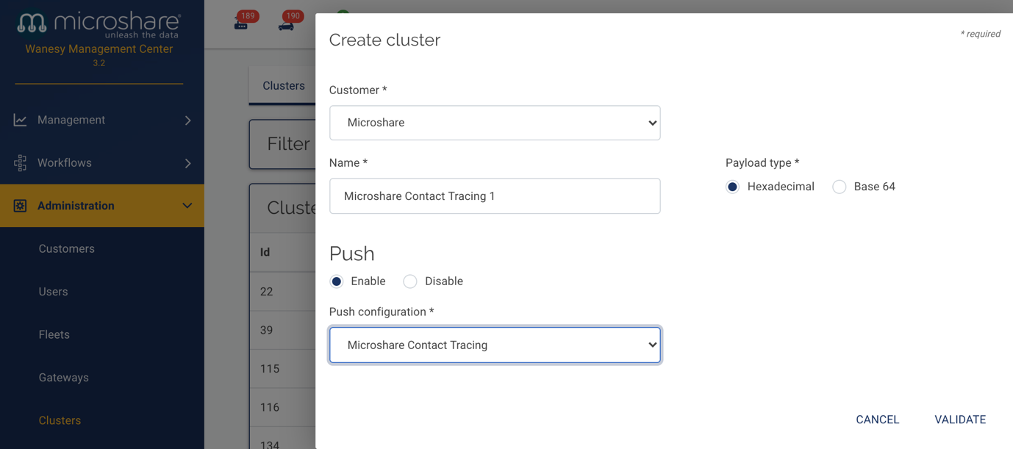
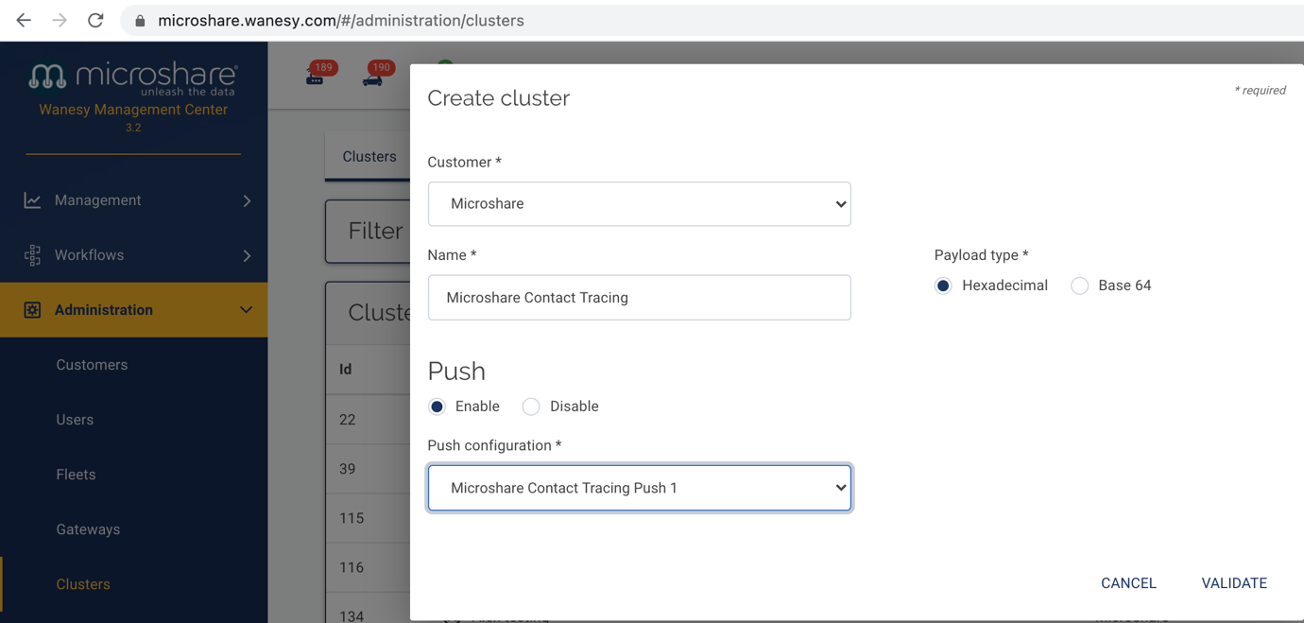
Customer: Microshare

Name: Microshare Contact Tracing

Push: ENABLE

Push Configuration: select “Microshare Contact Tracing Push 1”

- Click VALIDATE
4. Declare the Wave Devices
Declare the Wave Devices: Administration > End Devices > +
From the Cluster drop down menu, select the Cluster you just created 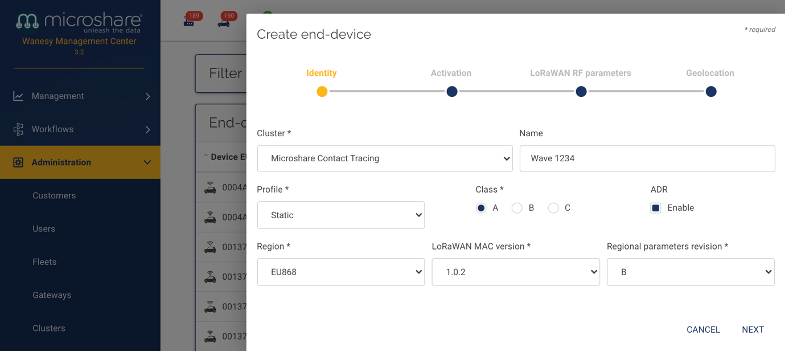
Profile: Static

Class: A

Region: choose the regional parameters for your region

LoRaWAN MAC version: 1.0.2

Regional parameters revision: B

- Click NEXT
Insert the relevant Device ID
Device EUI, Application EUI and Application keys are available from Kerlink or Microshare 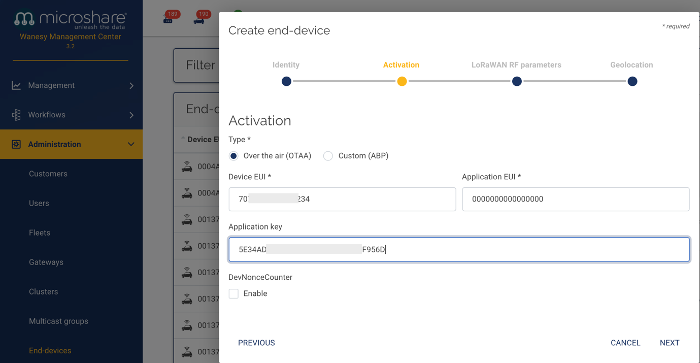
- Click NEXT
Click NEXT on the following screen, no changes needed (unless specifically instructed otherwise): LoRaWAN RF Parameters

Select “Inherited” on the following screen: Geolocation
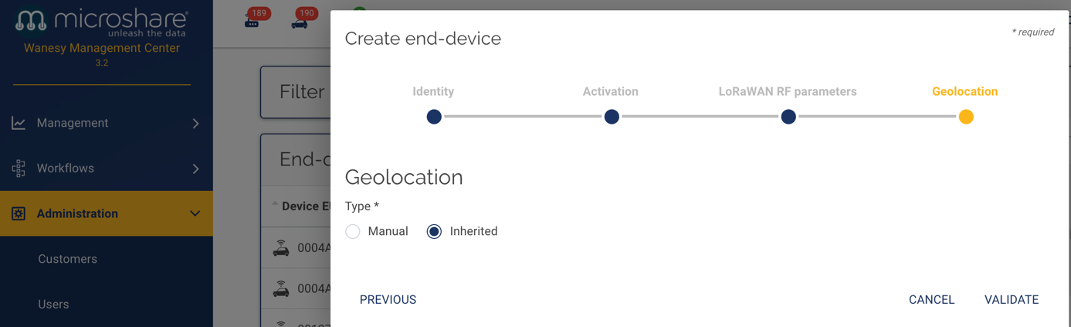
- Click VALIDATE
Repeat this process for all the Wave devices or use the csv upload to carry out a mass device declaration
5. Now plug in the Wave(s) in an area covered by a Kerlink gateway connected to the same Kerlink WMC instance (the gateway needs to either be assigned to the “Microshare” customer, OR be set to “PUBLIC”).
Check that the Wave is joining correctly and sending uplinks